 Calamares and QML
Calamares has been getting some refactoring to its modules to support QML as an alternative to QWidgets; for now, most of the module steps used by the Nitrux are being made available in QML.
Porting modules to be used by QML is an ongoing task. Many more modules could benefit from this refactoring, so if you feel adventurous, you can join the team behind Calamares to have a much more versatile installing framework.
https://github.com/calamares/calamares
Some modules are still pending, like the Partition module, and if you want to help, you can fork Calamares, check how other modules were ported, and then create a merge request.
To create a new QML style, you will need to import the following modules from Calamares:
import io.calamares.ui 1.0
import io.calamares.core 1.0
To better understand the API, you can look at the sources to know which properties are exposed.
Each view step has its own context property object named config; through this object, you can get to the current module setting properties, models, and other objects.
Updated look
Besides sharing the news with screenshots, this blog post will also give you a quick overview of how it works and maybe inspire you to get a new look for your favorite distribution installer.
The installing process consists of steps; some visual steps and some others are just executed in the background to focus on the visual ones.
For each module that is a visual step, we will need to create its own QML file since Calamares will load each module at request. To make things cleaner and easier, we will use templates that can be used by all the other steps in the sequence.
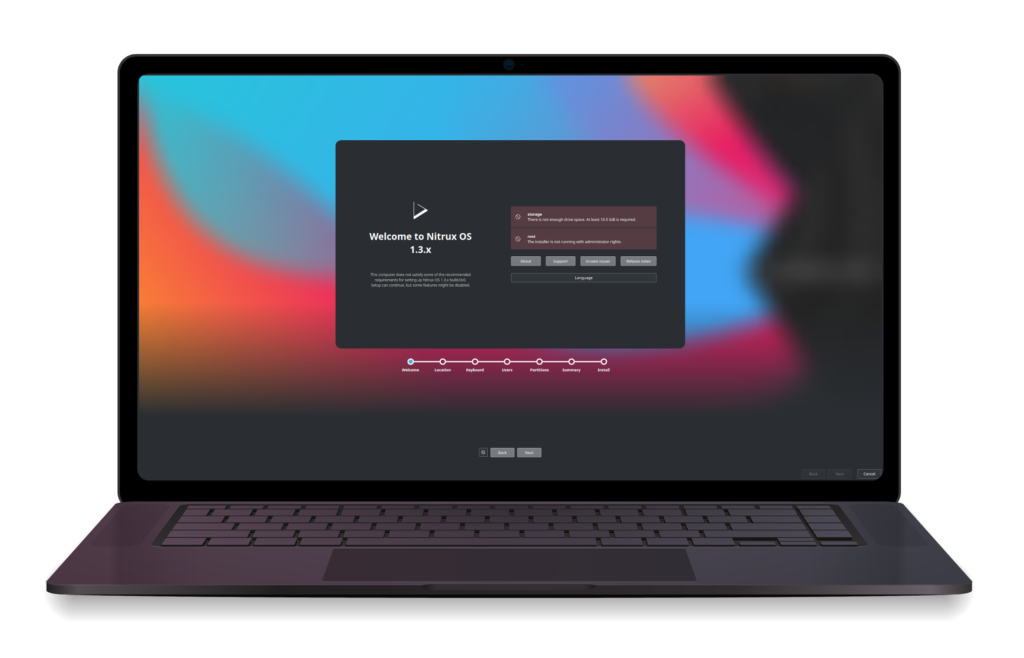
The new look of the installer has been inspired by the installer of OSes like macOS, elementaryOS, and the new Windows installer.
Settings
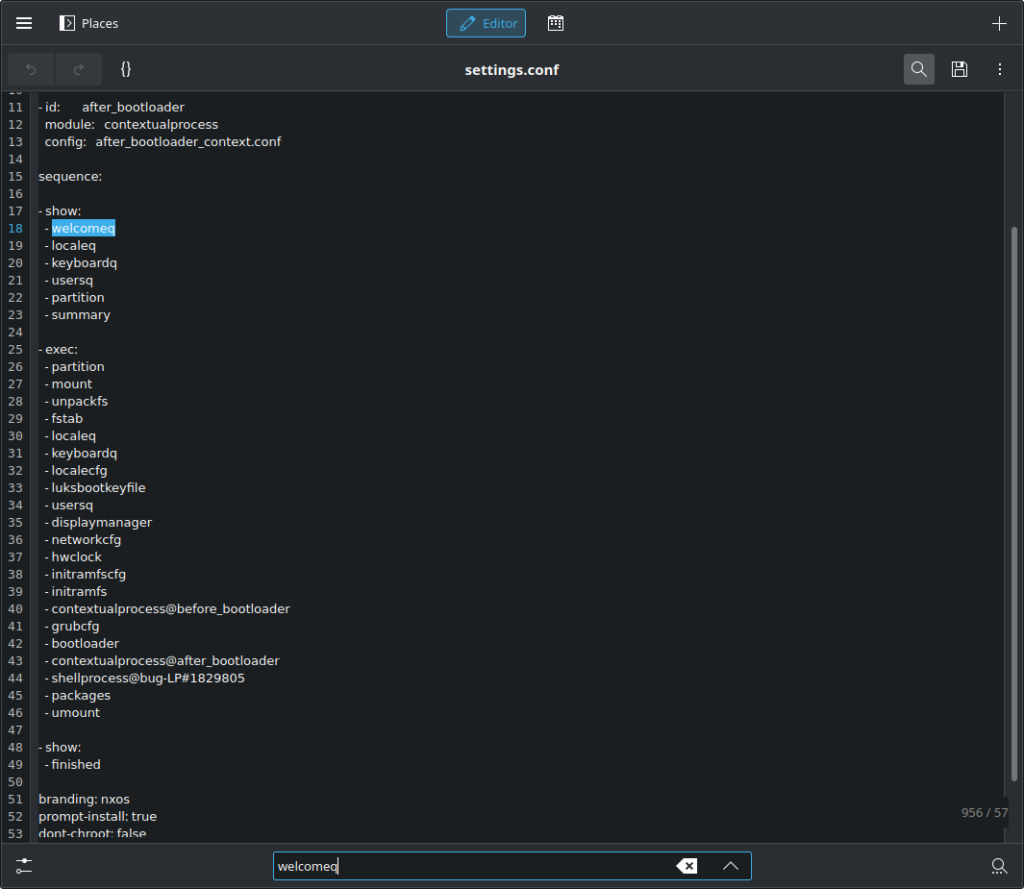
For supporting QML modules, the sequence steps declared in the settings configuration file need to have the q suffix; this means that Calamares will load the QML version instead of the default QWidgets.
If you peek into the sources, you will see that under modules, you have a ‘welcome’ and a ‘welcomeq,’ where ‘welcome’ is the legacy version, and ‘welcomeq’ is the new QML version, same for all the other modules.
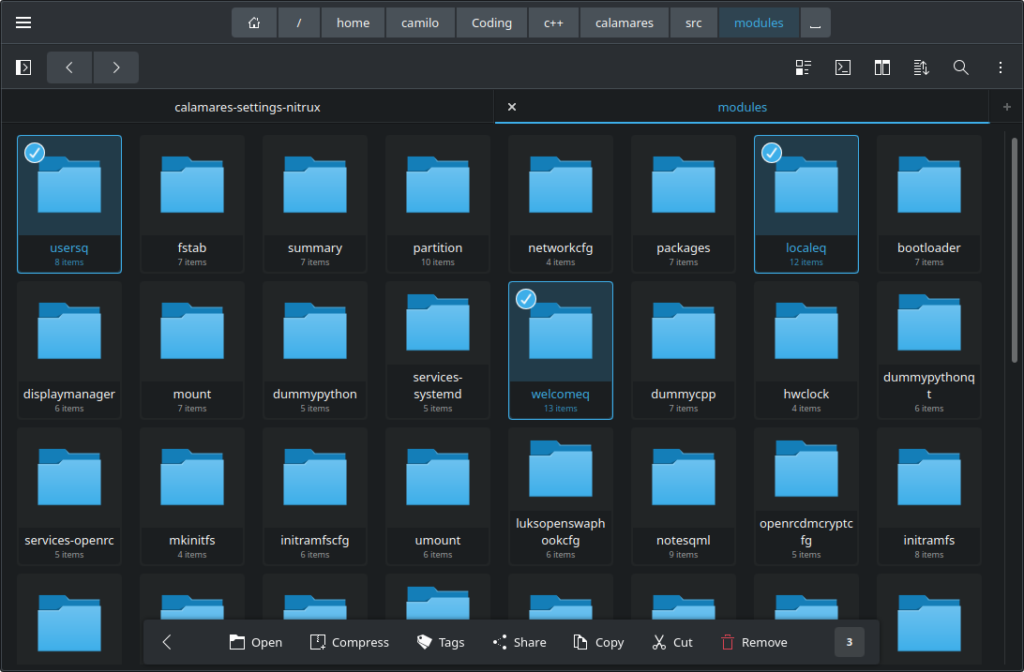
QML modules.
So the settings file has the following sequence:
sequence:
- show:
- welcomeq
- localeq
- keyboardq
- usersq
- partition
- summary
The final file looks like this:
Branding
The branding file (branding.desc) contains values for tweaking the look and behavior of the installer, like the accent colors of some of the QWidgets version UI and image assets. It also contains information about the “product” or OS, like name, version, webpage, etc.
For a better understanding of the Branding file options, you can check the Calamares documentation here.
For the new style, we will use these:
windowExpanding: fullscreen

sidebar: none

navigation: widget
- First, we want the window in full-screen mode.
- Second, we will create our own custom steps progress bar to not need the QWidgets based sidebar.
- Finally, for the navigation buttons to go back and forward in the sequence, we will keep the QWidgets version. This is because the Partition module and other steps are still not available in QML, so if we were to use our own custom navigation buttons and remove the QWidgets ones, we wouldn’t have a way to navigate once we reached one of the QWidgets views.
And now to the visual part.
The following screenshots are a demo and do not represent the final look and feel of the release version.
Modules
Here you can find the sources for the new style.
All of the modules use a template named ResponsiveBase.qml and others; you can check the sources to see how things work.
Welcome
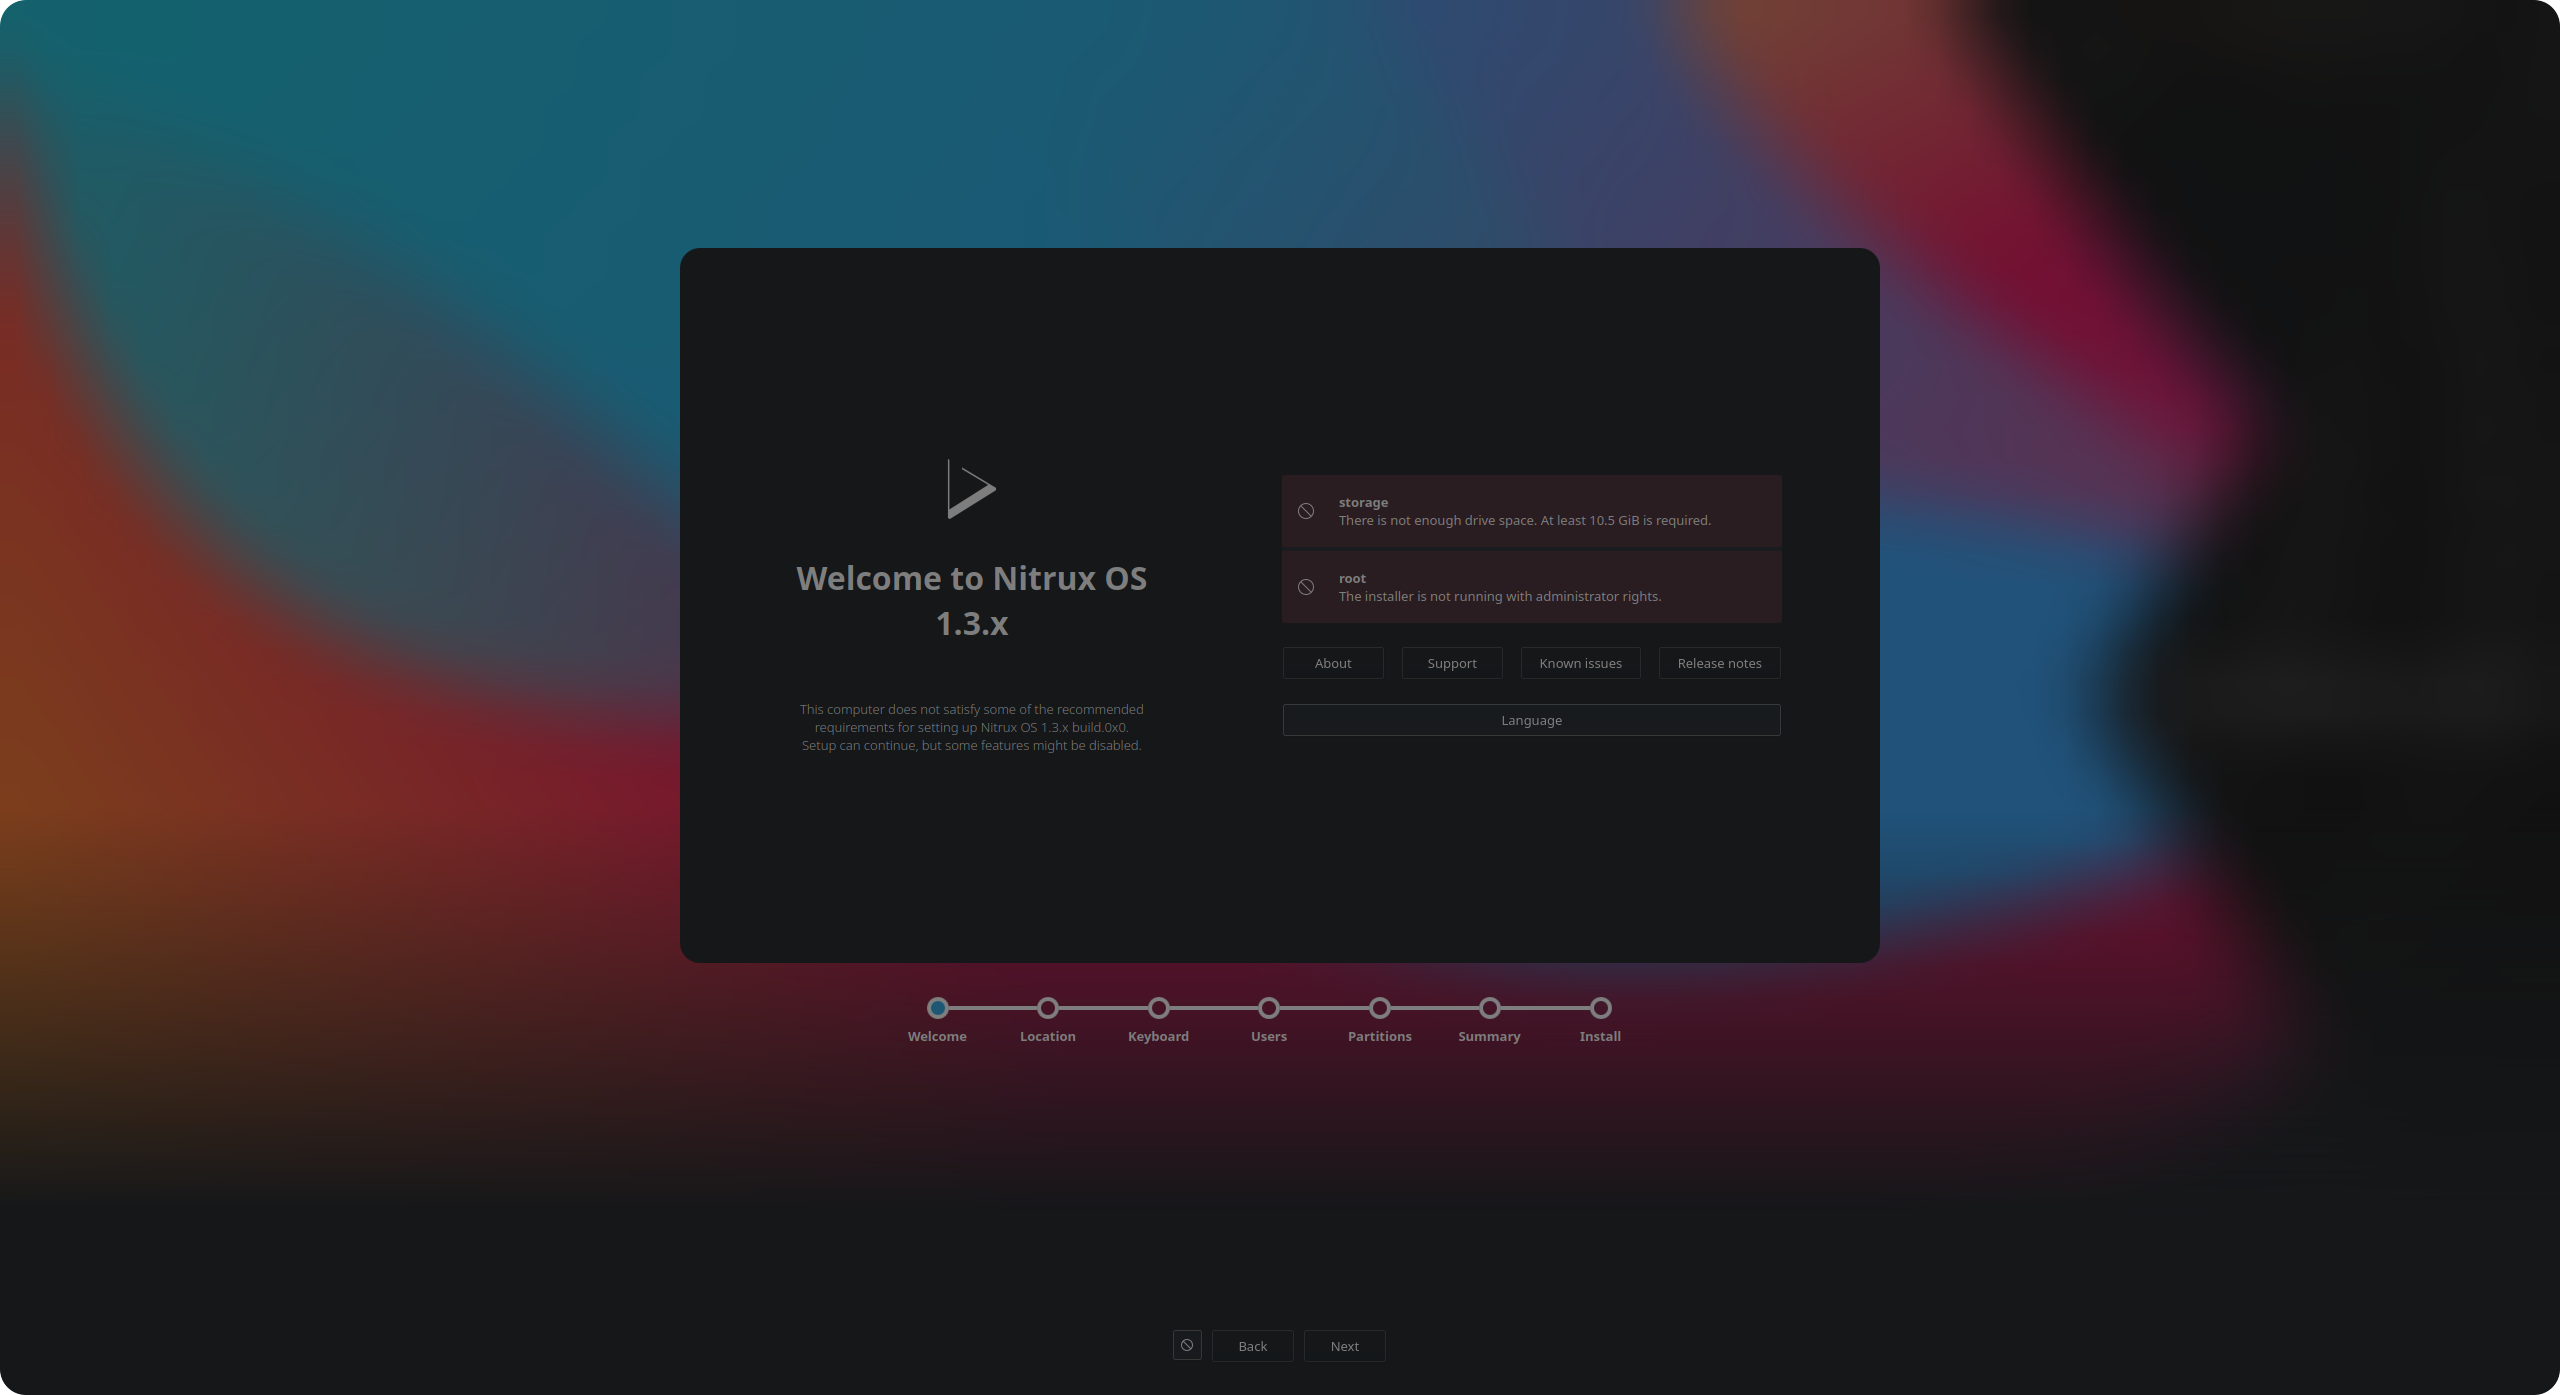
The welcomeq view has two steps itself.
The first step notifies if all the system requirements have been passed or if something is missing.
From the Calamares API, we can get all the info from the branding and settings config. Files: the product links to the webpage, report page, etc.; in the new style, the welcomeq view also has quick button links to those webpages.
The second step allows switching the language quickly.
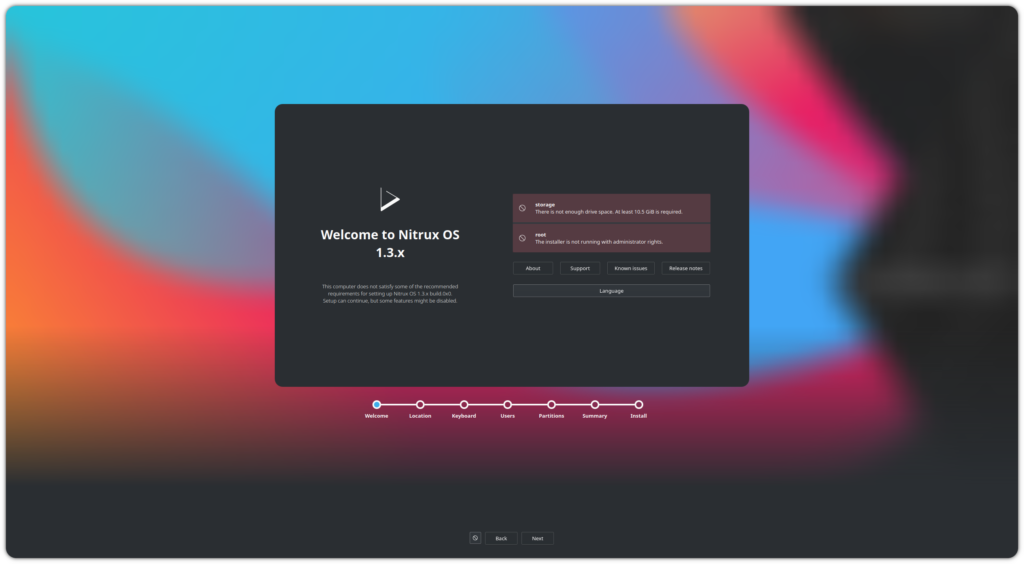
Welcome – Requirements and links
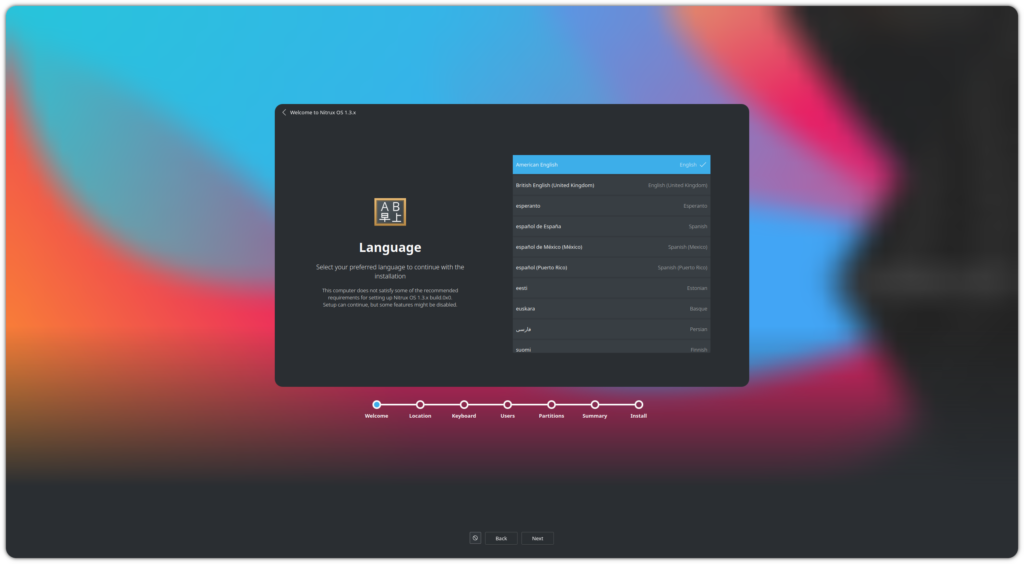
Welcome – Language
Locale
The localeq step allows changing the region and timezone.

Locale – Region

Locale – Timezone
Keyboard
The keyboardq module has three steps for setting the keyboard model, layout, and the variant. From the layout step, you can test the configuration.
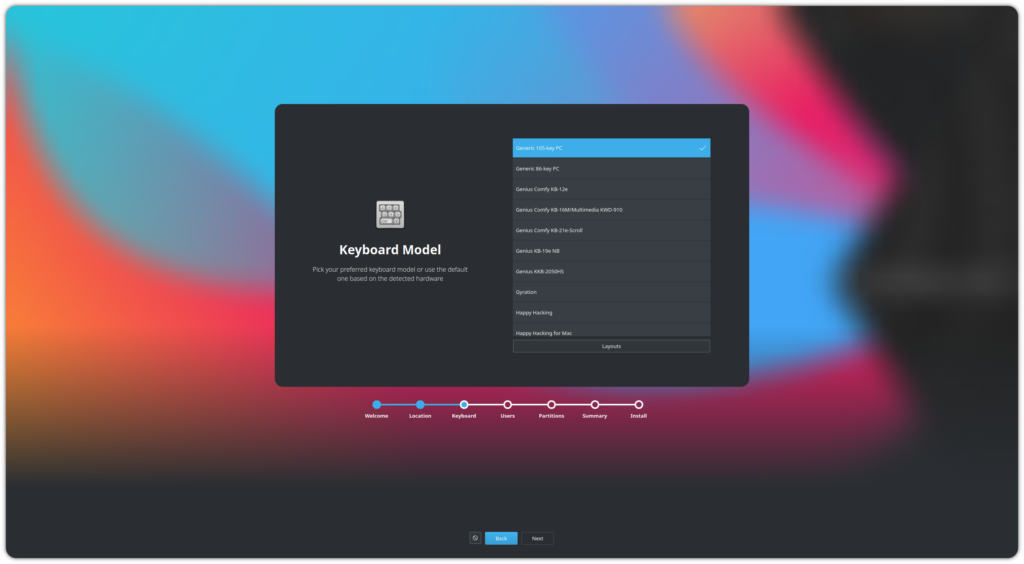
Keyboard – Models
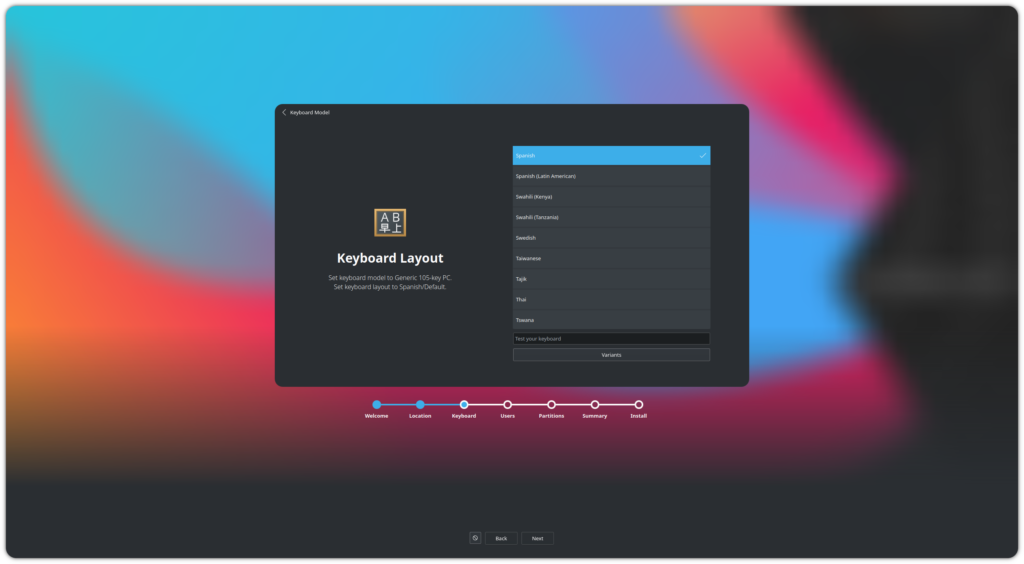
Keyboard – Layouts
Partition
The partition module is still not available to be used from QML. This module is more complex to port to QML, initial work has been made, but it is outdated. However, these are the sources if you want to take a look:
https://github.com/Nitrux/calamares-qml/tree/master/src/modules/partitionq
Users
The usersq module lets you quickly set up the user, root user, and other log-in options.
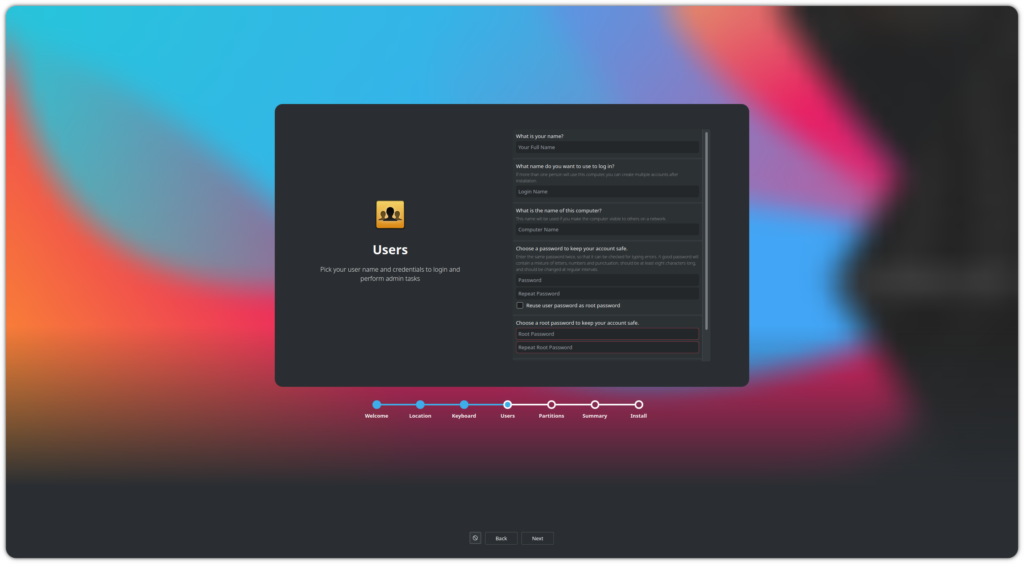
Users
Summary
The summary module summarizes all the changes that will occur when the installation starts; it is still not available to QML. You can find the work in progress here:
https://github.com/Nitrux/calamares-qml/tree/master/src/modules/summaryq
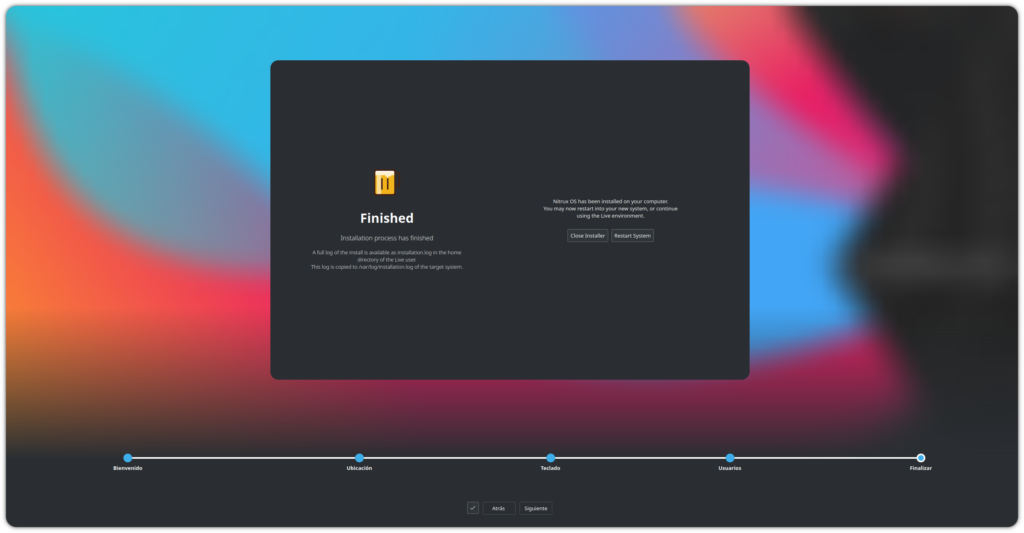
Finished
And the final step is the finishedq module; here, the installer gives the option to reboot to the newly installed OS or stay in the live image.
Progress bar
The view steps progress bar indicates the current step in the installation process.
You can find the implementation of the steps bar at: