Backups are vital for recovering from data loss caused by system malfunctions. This tutorial will show you how to keep your data safe on Nitrux using Kup Backup System.
Difficulty: ★☆☆☆☆
What is Kup?
The KDE community created Kup to help people keep their files backed up. Connecting a USB drive is the primary supported way to store data, but saving files to a server over a network connection is also possible for advanced users.
Here’s a detailed list of features.
- Backup types:
- Synchronized folders with the use of “rsync.”
- Incremental backup archive with the use of “bup.”
- Backup destinations:
- Local filesystem. That means you can set a destination folder that exists only when, perhaps, a network shared drive is mounted, and Kup will detect it when it becomes available.
- External storage devices, such as USB hard drives, are also monitored for availability.
- Schedules:
- Manual only (triggered from tray icon popup menu)
- Interval (suggests a new backup after some time has passed since the last backup)
- Usage-based (suggests a new backup after you have been active on your computer for hours since the previous backup).
In general, Kup tries not to disturb you needlessly.
Creating Backup Plans
Nitrux has supported backing up data via Kup since version 1.1.9 (July 27th, 2019). And it is available in System Settings.
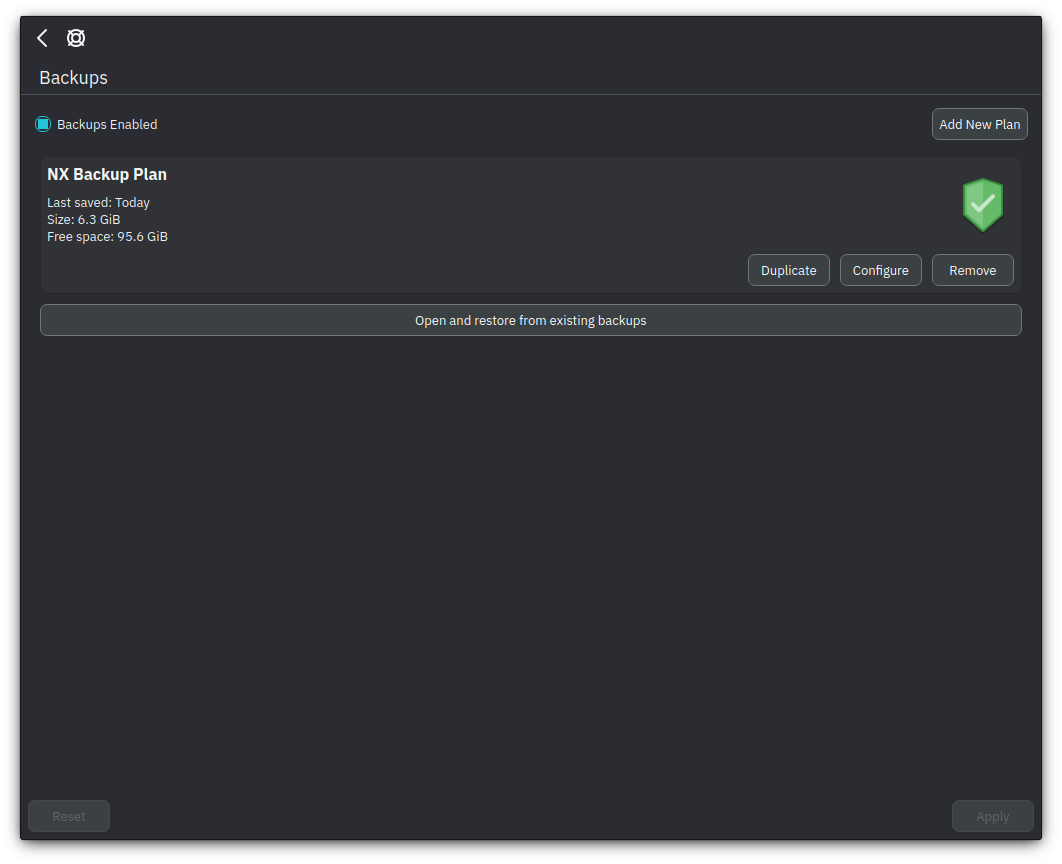
To create a new backup plan, click the “Backups Enabled” checkbox, then click “Add New Plan.”
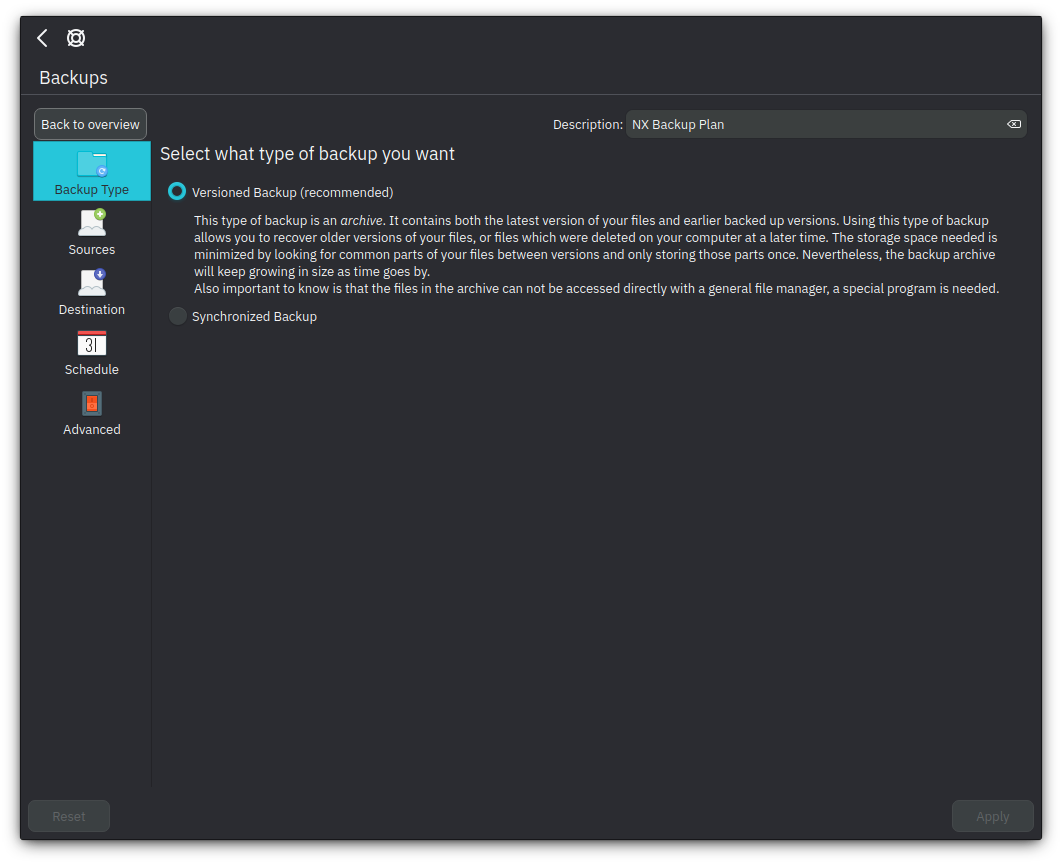
To add a name to this backup plan, click the “Description” textbox, then select the type of backup you want. With Kup, two backup schemes are supported: versioned and synchronized. Click each to see which plan fits your workflow.
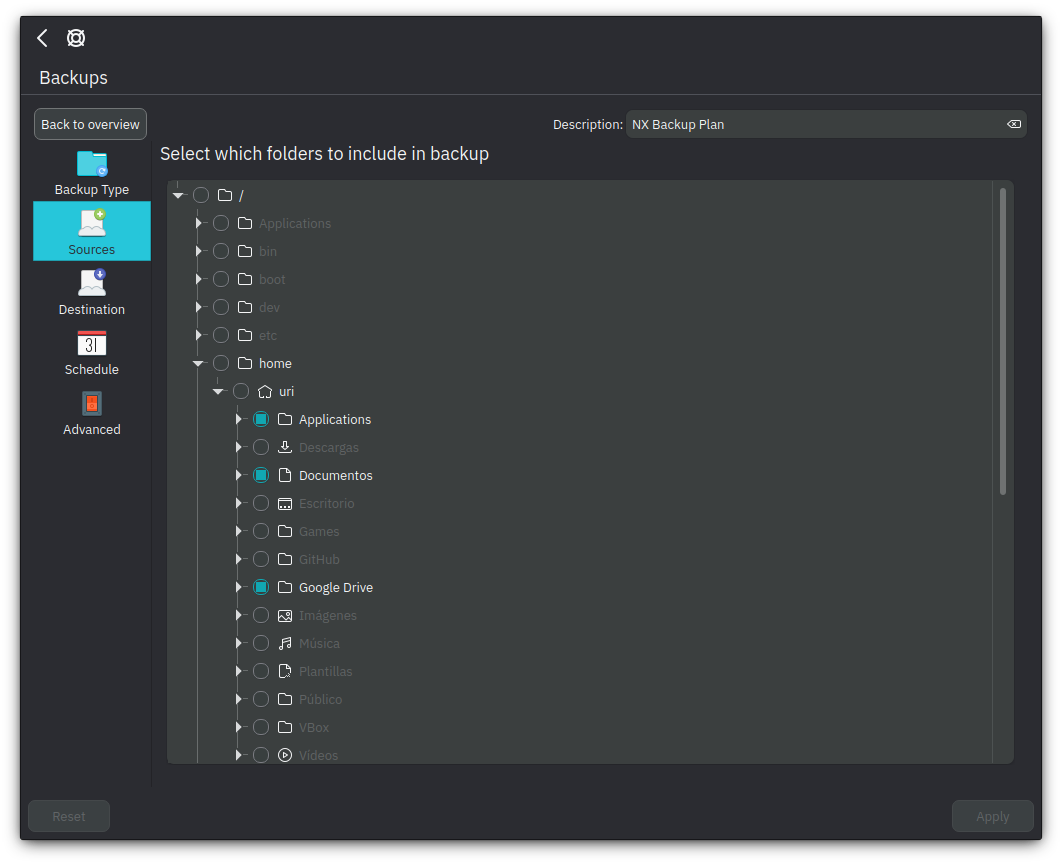
Next, select which folders Kup will include in your backup plan.
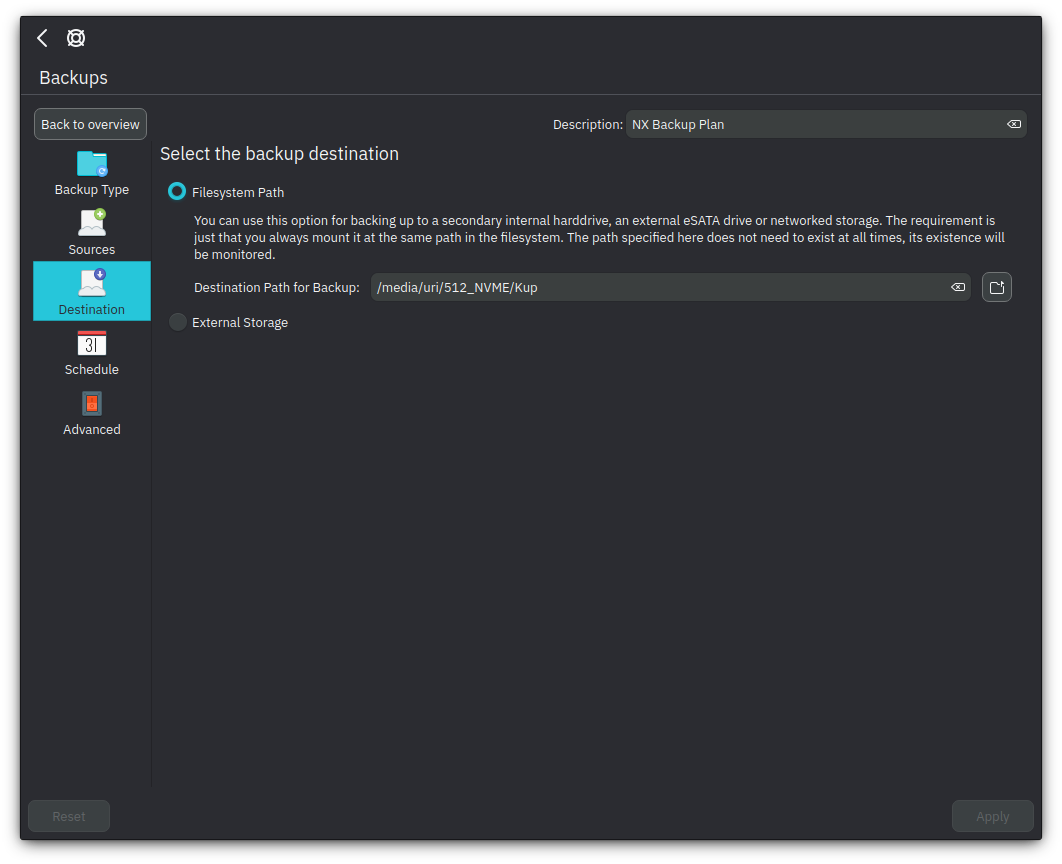
Now you can select where Kup will save your backup. You can choose an internal drive, an external drive, or network storage.
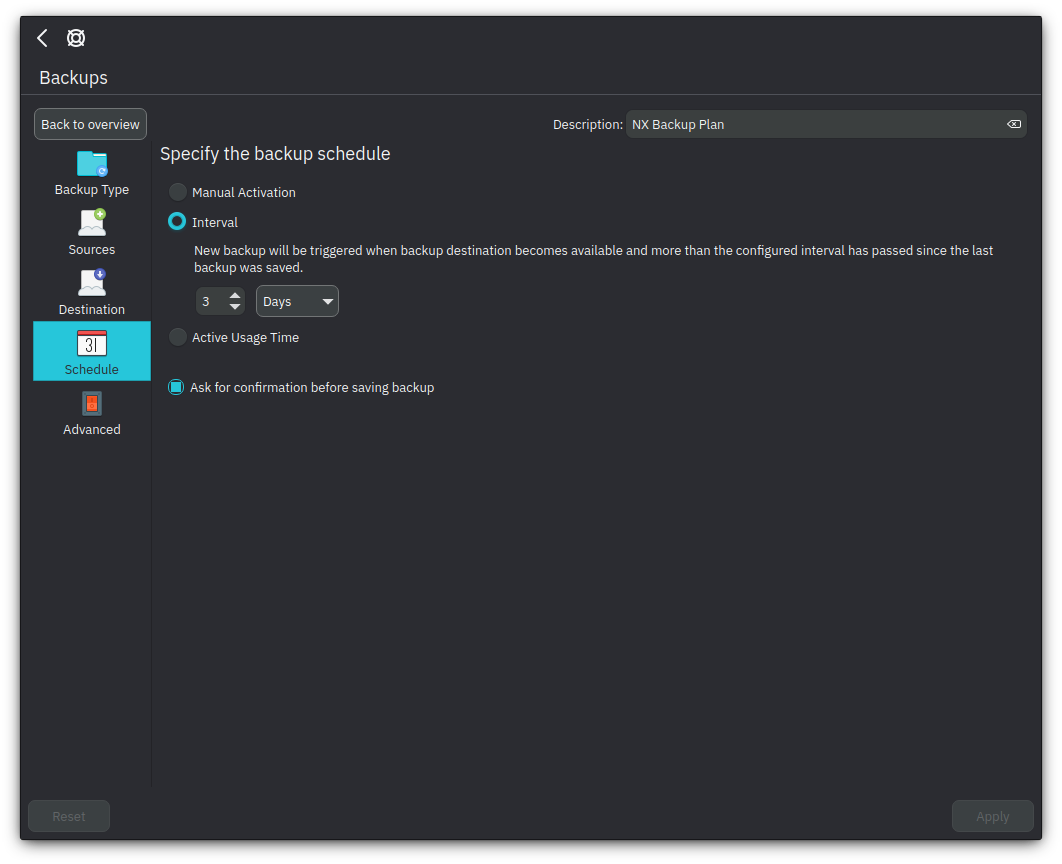
Kup also allows users to schedule when backups occur.
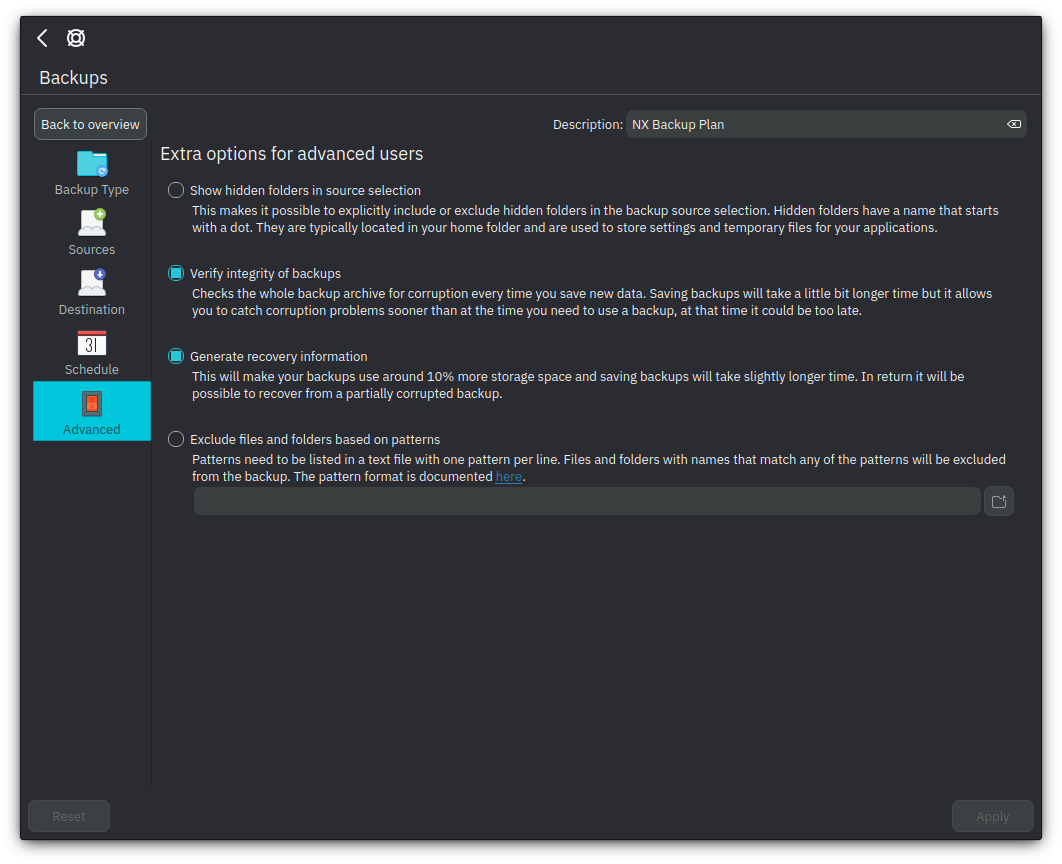
For advanced users, Kup can include or exclude hidden folders, verify backup integrity, and recover from a corrupted backup.
That’s it; this concludes today’s tutorial.