
Update 12/11/25: Please note that the information below is aimed at an old release of this distribution and does not pertain to the current release.
Web applications can be helpful when a native application is unavailable. In today’s tutorial, we will make an AppImage file of a web application using nativefier-appimage. nativefier-appimage makes it very easy to create AppImages of your favorite web applications and share them. It leverages the web application creation process by using Nativefier.
Difficulty: ★☆☆☆☆
To make our AppImage for this tutorial, we must install AppStream, file, npm, and FUSE to a container. We can use a container like the one used in the tutorial to use Distrobox. Additionally, we need to download the nativefier-appimage program to the container and move it to the appropriate directory.
distrobox enter -n debian-stable-distrobox -- sudo apt install --no-install-recommends -y appstream file npm libfuse2 fuse3
distrobox enter -n debian-stable-distrobox -- wget https://raw.githubusercontent.com/Nitrux/nativefier-appimage/main/nativefier-appimage
distrobox enter -n debian-stable-distrobox -- chmod +x nativefier-appimage
distrobox enter -n debian-stable-distrobox -- sudo mv nativefier-appimage /usr/bin
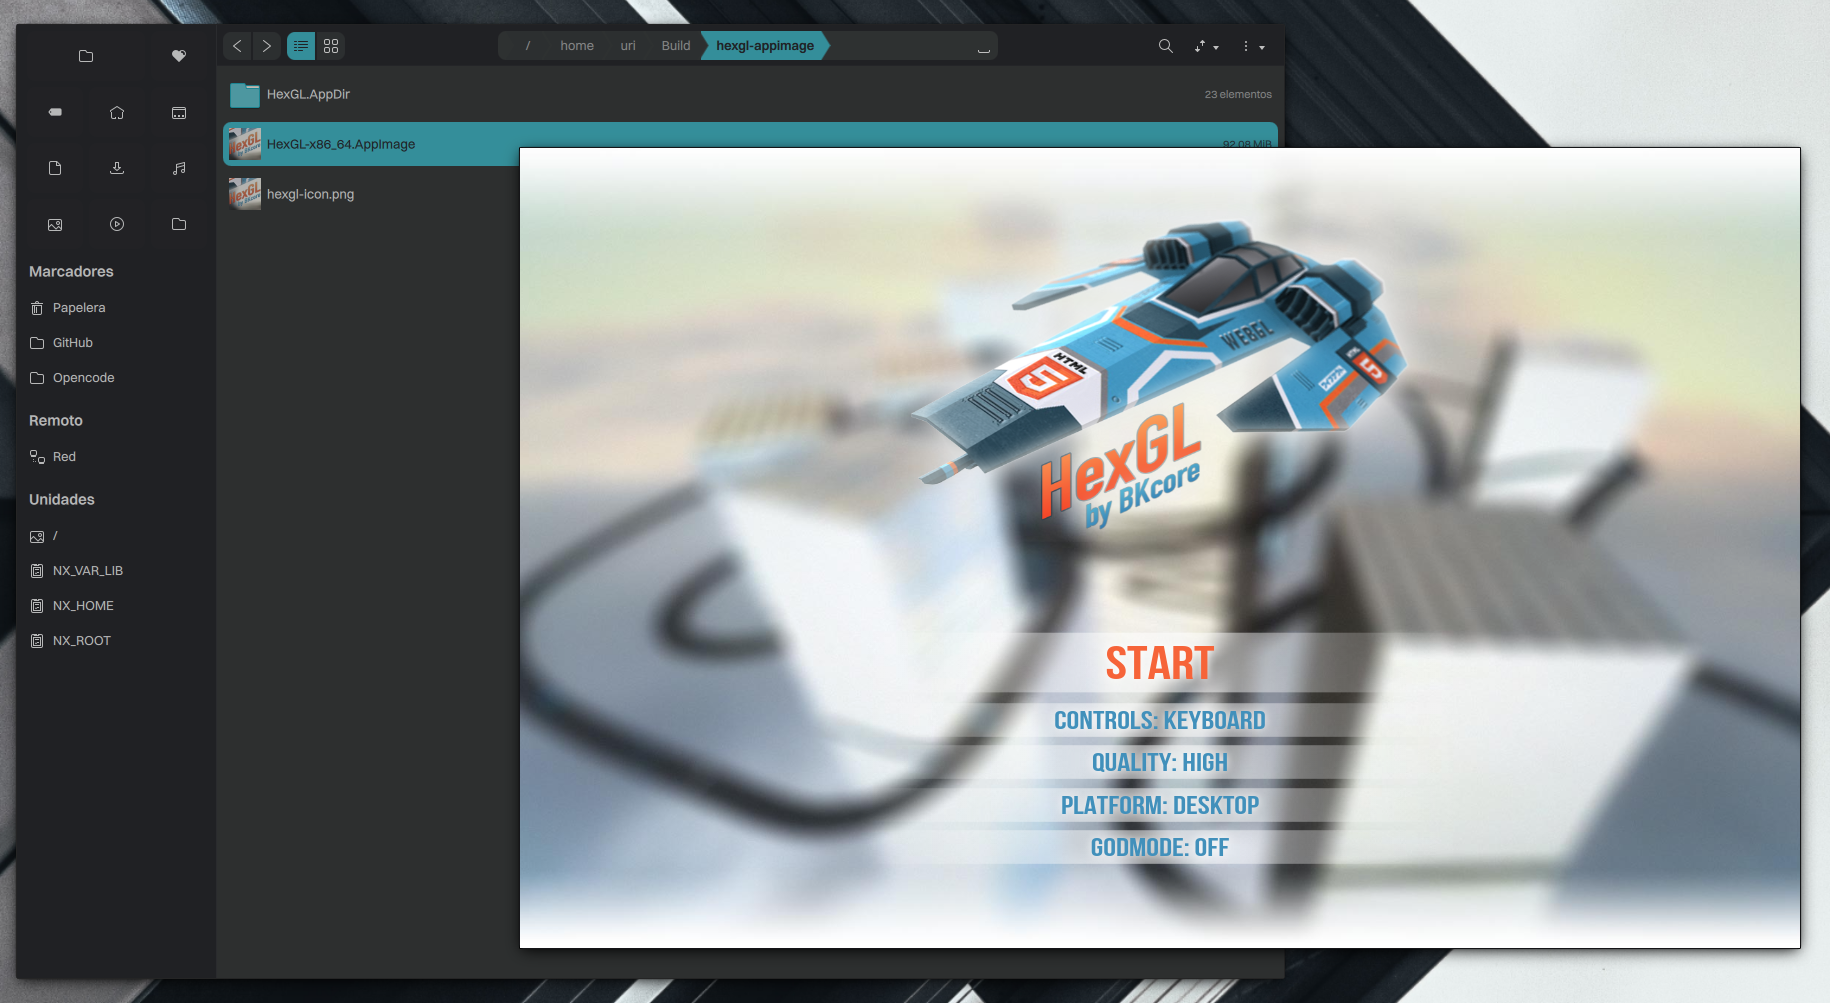
For this tutorial, we’ll make an AppImage of a WebGL game called HexGL, so, let’s create our staging area, for simplicity we’ll use the directory $HOME/hexgl-appimage.
mkdir -p $HOME/hexgl-appimage
$HOME/hexgl-appimage
Now, we can create the AppImage, to do this run the following command.
- Name of the application, i.e., HexGL
- URL of the website.
- An image to use as the icon for the AppImage. The image can be of any size, though it’s recommended that it’s a 1:1 ratio, i.e., 256×256, 128×128, and so on.
distrobox enter -n debian-stable-distrobox -- nativefier-appimage --name HexGL --url http://hexgl.bkcore.com/play --icon $HOME/hexgl-appimage/hexgl-icon.png
Please note the following when using nativefier-appimage.
- nativefier-appimage uses Nativefier, which is a project that unfortunately has been unmaintained since September 29th, 2023. There are no new forks and we’re not going to maintain it either. It’s still usable as demonstrated by this tutorial; however, we’ll try to find an alternative for it and make a new tutorial.
That’s it; this concludes today’s tutorial.