
Update 12/11/25: Please note that the information below is aimed at an old release of this distribution and does not pertain to the current release.

AppImageCrafters
GNU/Linux packaging made easy! | https://appimage-builder.readthedocs.io
AppImages are the focus of our Linux distribution. We already include several AppImage-related tools that improve their user experience in our distribution, from desktop integration to sandboxing and management.
In today’s tutorial, we will make an AppImage file using appimage-builder.
Difficulty: ★★☆☆☆
📜 Table of Contents
Install appimage-builder in Nitrux
appimage-builder makes it very easy to create your favorite applications. appimage-builder works by using recipes; these are simple text files in the YAML format that contain the information from which appimage-builder will make our AppImage. One of the main features of appimage-builder is building an AppImage from existing, pre-compiled packages like Debian packages, RPM packages, etc. Only Debian packages are currently supported; however, support for more package managers, such as Pacman, is planned.
Of course, alternatively, you can use appimage-builder to compile the application and always use the latest version available when creating an AppImage.
- 🔰 Information: Check the appimage-builder documentation for examples and other information.
The project was developed by Alexis Lopez Zubieta, a former Nitrux developer and an AppImage collaborator.
To make our AppImage for this tutorial, we will use a container similar to that of the tutorial to use Distrobox, a Debian 12 container since appimage-builder supports using pre-compiled packages. First, we need to install pip, a package installer for Python, fakeroot, libglib2.0-bin, squashfs-tools, and zsync. Then we install appimage-builder using pip.
- 🔰 Information: pip will complain about not installing the project in a virtual environment; however, we can safely ignore this warning since that’s the reason we’re using a container in the first place.
distrobox enter -n debian-stable-distrobox -- sudo apt install --no-install-recommends -y python3-pip fakeroot libglib2.0-bin squashfs-tools zsync
distrobox enter -n debian-stable-distrobox -- sudo pip3 install --break-system-packages git+https://github.com/AppImageCrafters/appimage-builder.git
Now, we can decide what application we will package into an AppImage, for this tutorial we’ll choose VLC.
To continue, we must create a directory structure for our staging area. In this directory, we’ll place the recipe for appimage-builder. For simplicity’s sake, we’ll use the directory $HOME/appimage-builder/vlc-appimage.
- 🔰 Information: This directory structure is not mandatory; you can use your conventions.
mkdir -p $HOME/appimage-builder/vlc-appimage
$HOME/appimage-builder/vlc-appimage
Making a Recipe for appimage-builder
For appimage-builder to create our AppImage, we must provide a recipe. Below is a recipe we’ve created which can be used as a template to understand how appimage-builder works. Recipes use YAML syntax.
- 🔰 Information: Although the recipe is self-explanatory, please refer to the appimage-builder documentation to know more about what each section does.
- 🔰 Information: We can use any APT/dpkg repository including Launchpad PPAs to get the packages to build our AppImage.
- 🔰 Information: Run the following command to generate a draft recipe. However, we will use a more in-depth template for the recipe.
distrobox enter -n debian-stable-distrobox -- appimage-build --generate
Here’s the recipe for VLC that we will use, copy the YAML code below, and save the file to our staging area, for consistency let’s call the file vlc-appimage.yaml.
- ⚠️ Important: The recipe includes Bash and Dash, as the AppRun needs an interpreter to be included in the AppImage.
# appimage-builder recipe see https://appimage-builder.readthedocs.io for details
version: 1
script:
  - rm -rf ./AppDir ./appimage-build *x86_64.AppImage.zsync *x86_64.AppImage || true
AppDir:
  path: ./AppDir
  app_info:
    id: vlc
    name: vlc
    icon: vlc
    version: 3.0.21-0+deb12u1
    exec: usr/bin/vlc
    exec_args: $@

  runtime:
    env:
      PATH: '${APPDIR}/usr/bin:${APPDIR}/bin:${APPDIR}/usr/lib/x86_64-linux-gnu/libexec/kf5:${PATH}'
      # APPDIR_LIBRARY_PATH: "$APPDIR/lib/x86_64-linux-gnu:$APPDIR/usr/lib:$APPDIR/usr/lib/x86_64-linux-gnu"
  after_bundle:
    - cd ./AppDir/usr/bin && ln -sf bash sh && cd -
  apt:
    arch:
    - amd64
    allow_unauthenticated: true
    sources:
    - sourceline: deb [arch=amd64] http://deb.debian.org/debian bookworm main contrib non-free non-free-firmware
      key_url: 'https://ftp-master.debian.org/keys/archive-key-12.asc'
    - sourceline: deb [arch=amd64] http://security.debian.org/debian-security bookworm-security main contrib non-free non-free-firmware
      key_url: 'https://ftp-master.debian.org/keys/archive-key-12.asc'
    include:
      - bash
      - dash
      - vlc
    exclude:
      - systemd
  files:
    include:
      - /usr/bin/which
    exclude:
      - usr/include
      - usr/share/man
      - usr/share/doc
      - usr/share/doc/*/README.*
      - usr/share/doc/*/changelog.*
      - usr/share/doc/*/NEWS.*
      - usr/share/doc/*/TODO.*
      - lib/systemd
      - etc/systemd
      - usr/lib/systemd
      - usr/bin/systemd*
      - usr/bin/dpkg*
      - usr/bin/*-linux-gnu-*
      - usr/lib/*-linux-gnu/systemd
      - usr/bin/systemd-*
      - usr/share/locale
AppImage:
  arch: x86_64
  comp: xz
  file_name: vlc-x86_64.AppImage
  update-information: gh-releases-zsync|Nitrux|vlc|3.0.21-0+deb12u1|*x86_64.AppImage.zsync
Now that we have a recipe, we can build our AppImage.
Generating the AppImage using appimage-builder
To generate the AppImage using appimage-builder, we only need to run a single command. We will skip the automated tests since we will test it directly in Nitrux.
distrobox enter -n debian-stable-distrobox -- appimage-builder --recipe $HOME/appimage-builder/vlc-appimage/vlc-appimage.yaml --skip-tests
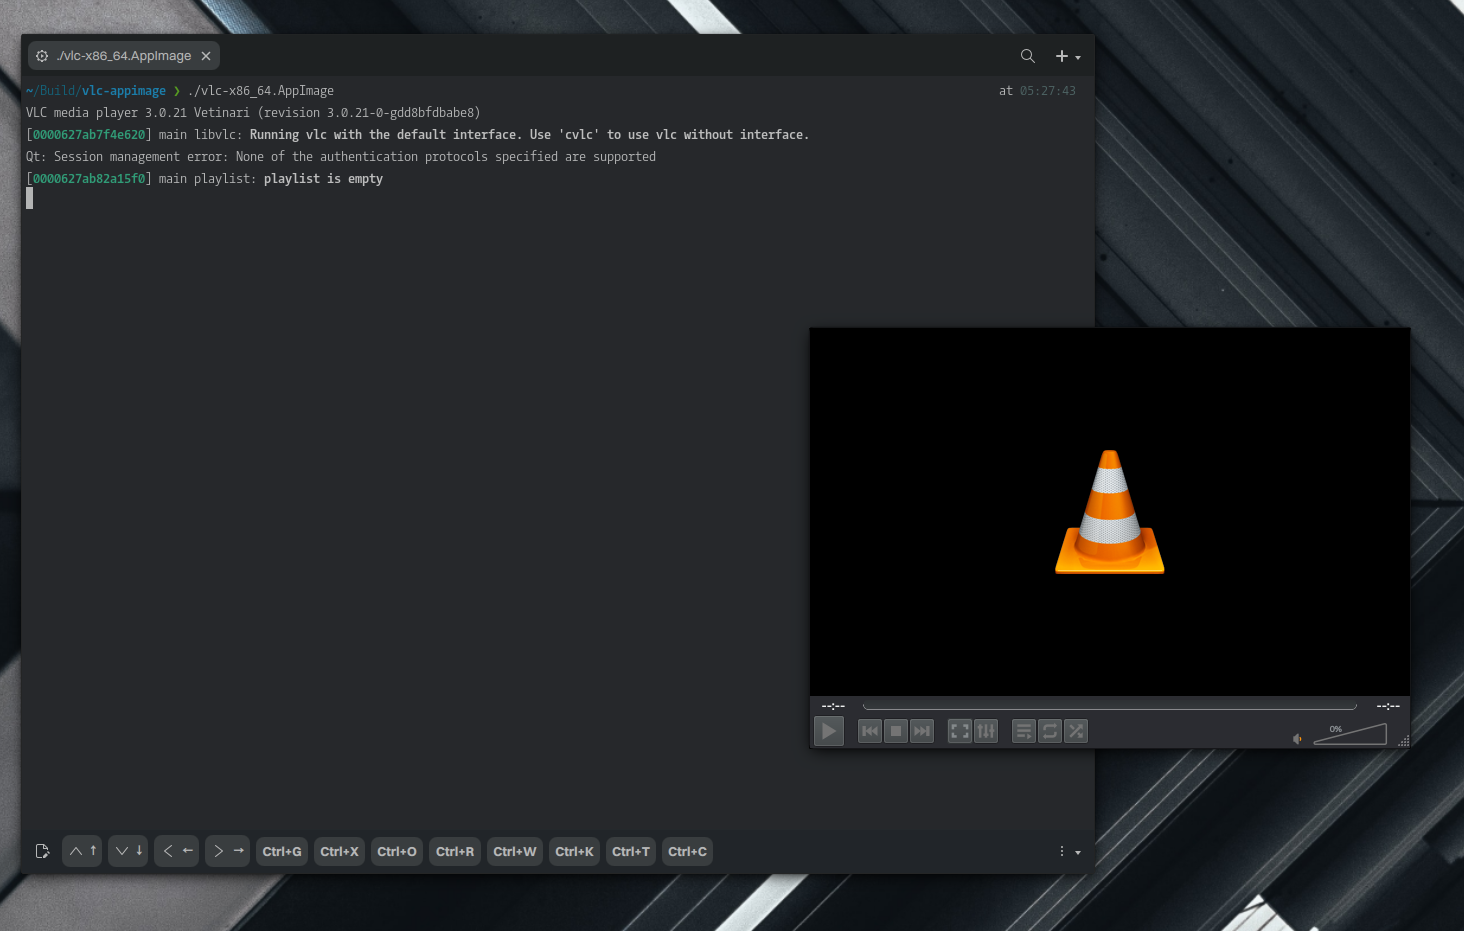
Testing the AppImage in Nitrux
To test that the AppImage works, run it from Station or double-click it on Index.
Troubleshooting
Here are some hints to troubleshoot your recipe if it doesn’t work.
- Ensure that the executable path is correct. For example, the path to the executable is relative to the AppDir. For example, “usr/bin/vlc” would be accurate, whereas “/usr/bin/vlc” would not.
- Even if multiple repositories use the same GPG key, the recipe should include the key below the repository URL; otherwise, this will cause an error in appimage-builder.
- It’s a good practice to only include the application name in the file name of the AppImage, not the name and the version, as this simplifies the update process when using Zsync.
- appimage-builder uses appimagetool when generating the final AppImage file; appimagetool only supports using XZ and GZip compression. Using GZip will result in a larger file size but a faster startup, and vice-versa when using XZ; see the section “comp.”
- It’s worth remembering that while AppImages are self-contained, whatever libraries or binaries its creator did not include in the AppImage will load from the root directory of the distribution where the AppImage is running. For example, using the application in this tutorial as a reference, if we wanted to include plugins for VLC, we must add them in the section “include.” To exclude packages from the AppImage, put the package name in the “exclude” section.
- It’s possible to exclude directories and files from the AppImage; see the section “files.”
That’s it; this concludes today’s tutorial.