Today is the day! — Nitrux 1.5.0 is available to download
We are pleased to announce the launch of Nitrux 1.5.0. This new version brings together the latest software updates, bug fixes, performance improvements, and ready-to-use hardware support.
Nitrux 1.5.0 is available for immediate download.
✨ What’s new
Starting from this release we’ll be using a new version scheme.
- We’ve updated the LTS 5.4 kernel to version 5.4.128.
- If you remove this kernel and want to install it again, run the following command.
-
sudo apt install linux-image-mainline-lts-5.4
-
- If you remove this kernel and want to install it again, run the following command.
- We also offer the mainline LTS and the latest (as of this post) non-LTS kernels from our repository, currently 5.10.36 and 5.13.0, respectively.
- The 5.13.0 non-LTS kernel is now the default in the distribution.
- To install either of these kernels, run one of the following commands.
-
sudo apt install linux-image-mainline-lts
sudo apt install linux-image-mainline-current
-
- We also offer the latest (as of this post) Liquorix and Xanmod kernels from our repository, currently 5.12.0-13.1, 5.12.7. and 5.12.7-cacule, respectively.
- To install either of these kernels, run one of the following commands.
-
sudo apt install linux-image-liquorix
sudo apt install linux-image-xanmod
sudo apt install linux-image-xanmod-cacule
-
- To install either of these kernels, run one of the following commands.
- We also offer the latest (as of this post) Linux Libre LTS and non-LTS kernels from our repository, currently 5.10.46 and 5.13.0, respectively.
- To install either of these kernels, run one of the following commands.
-
sudo apt install linux-image-libre-lts
sudo apt install linux-image-libre-current
-
- To install either of these kernels, run one of the following commands.
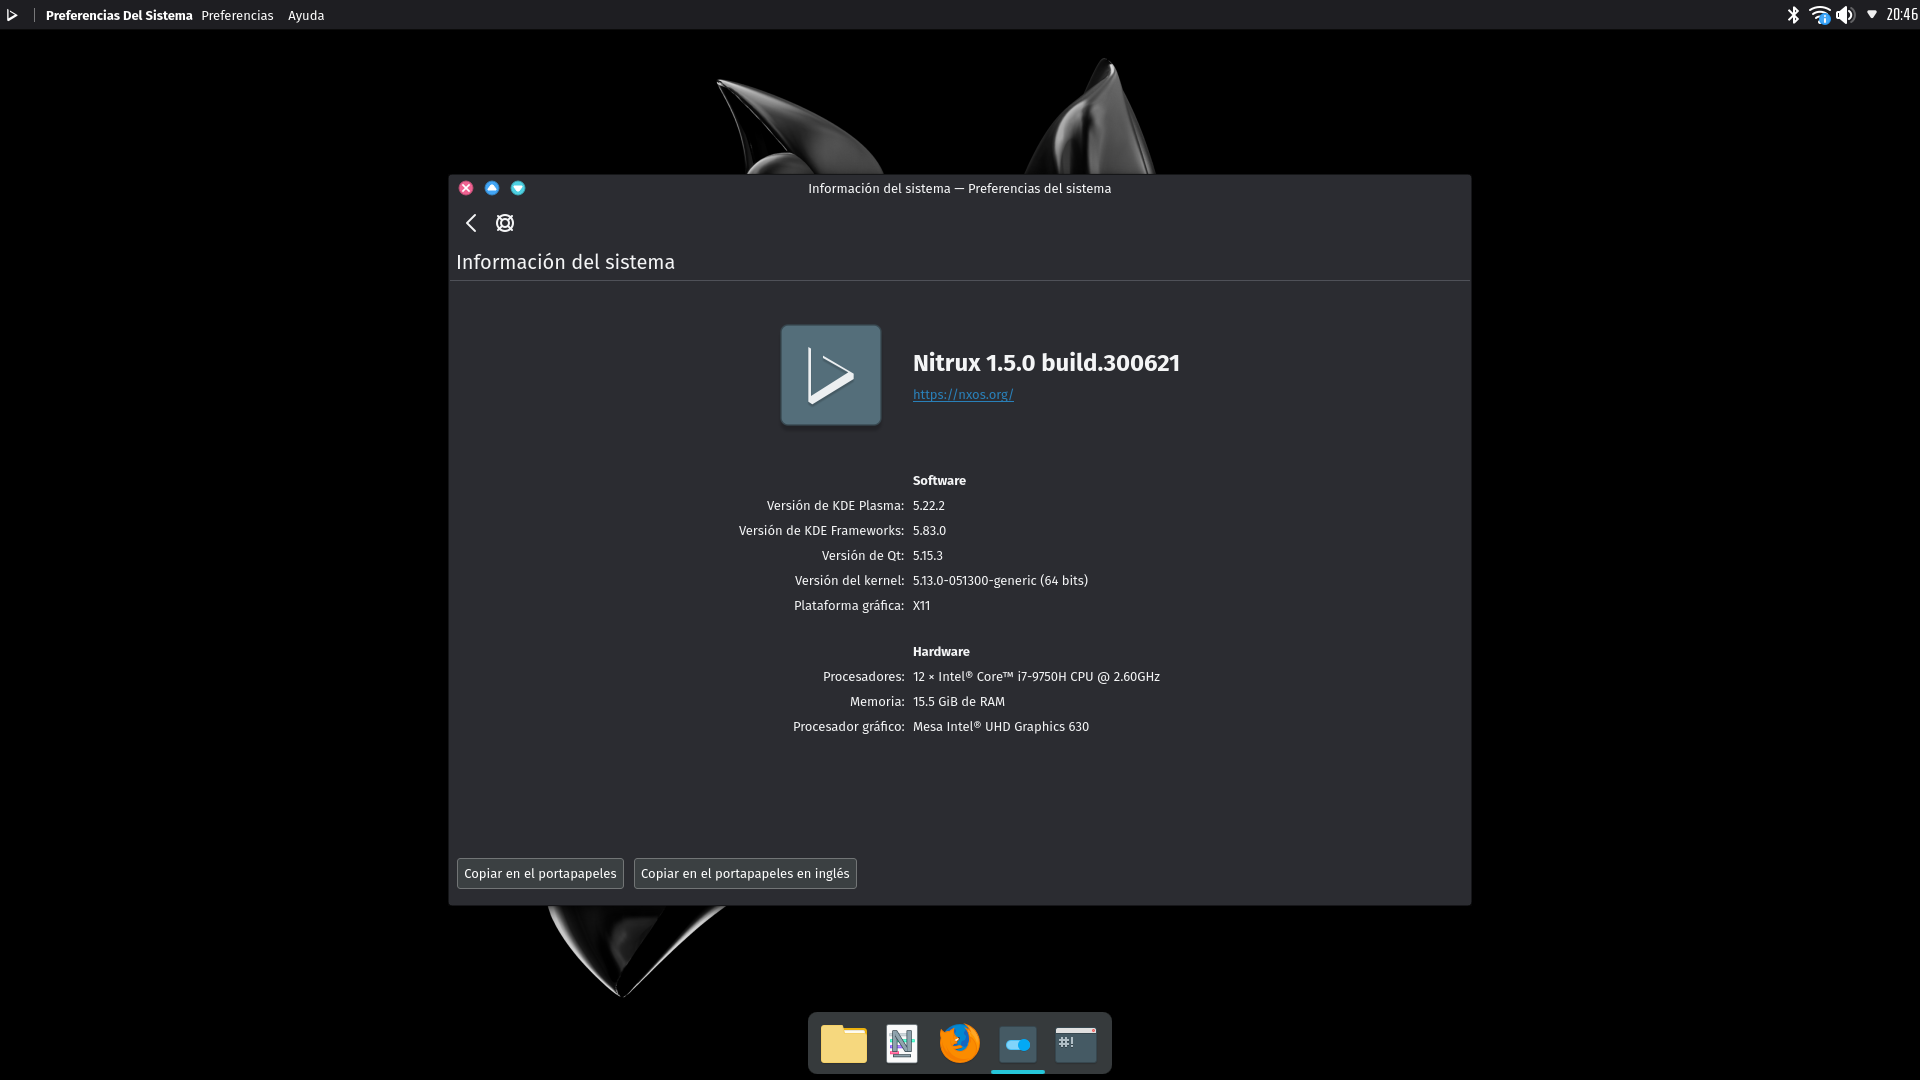
- We’ve updated KDE Plasma to version 5.22.2, KDE Frameworks to version 5.83.0, KDE Gear to version 21.04.2.
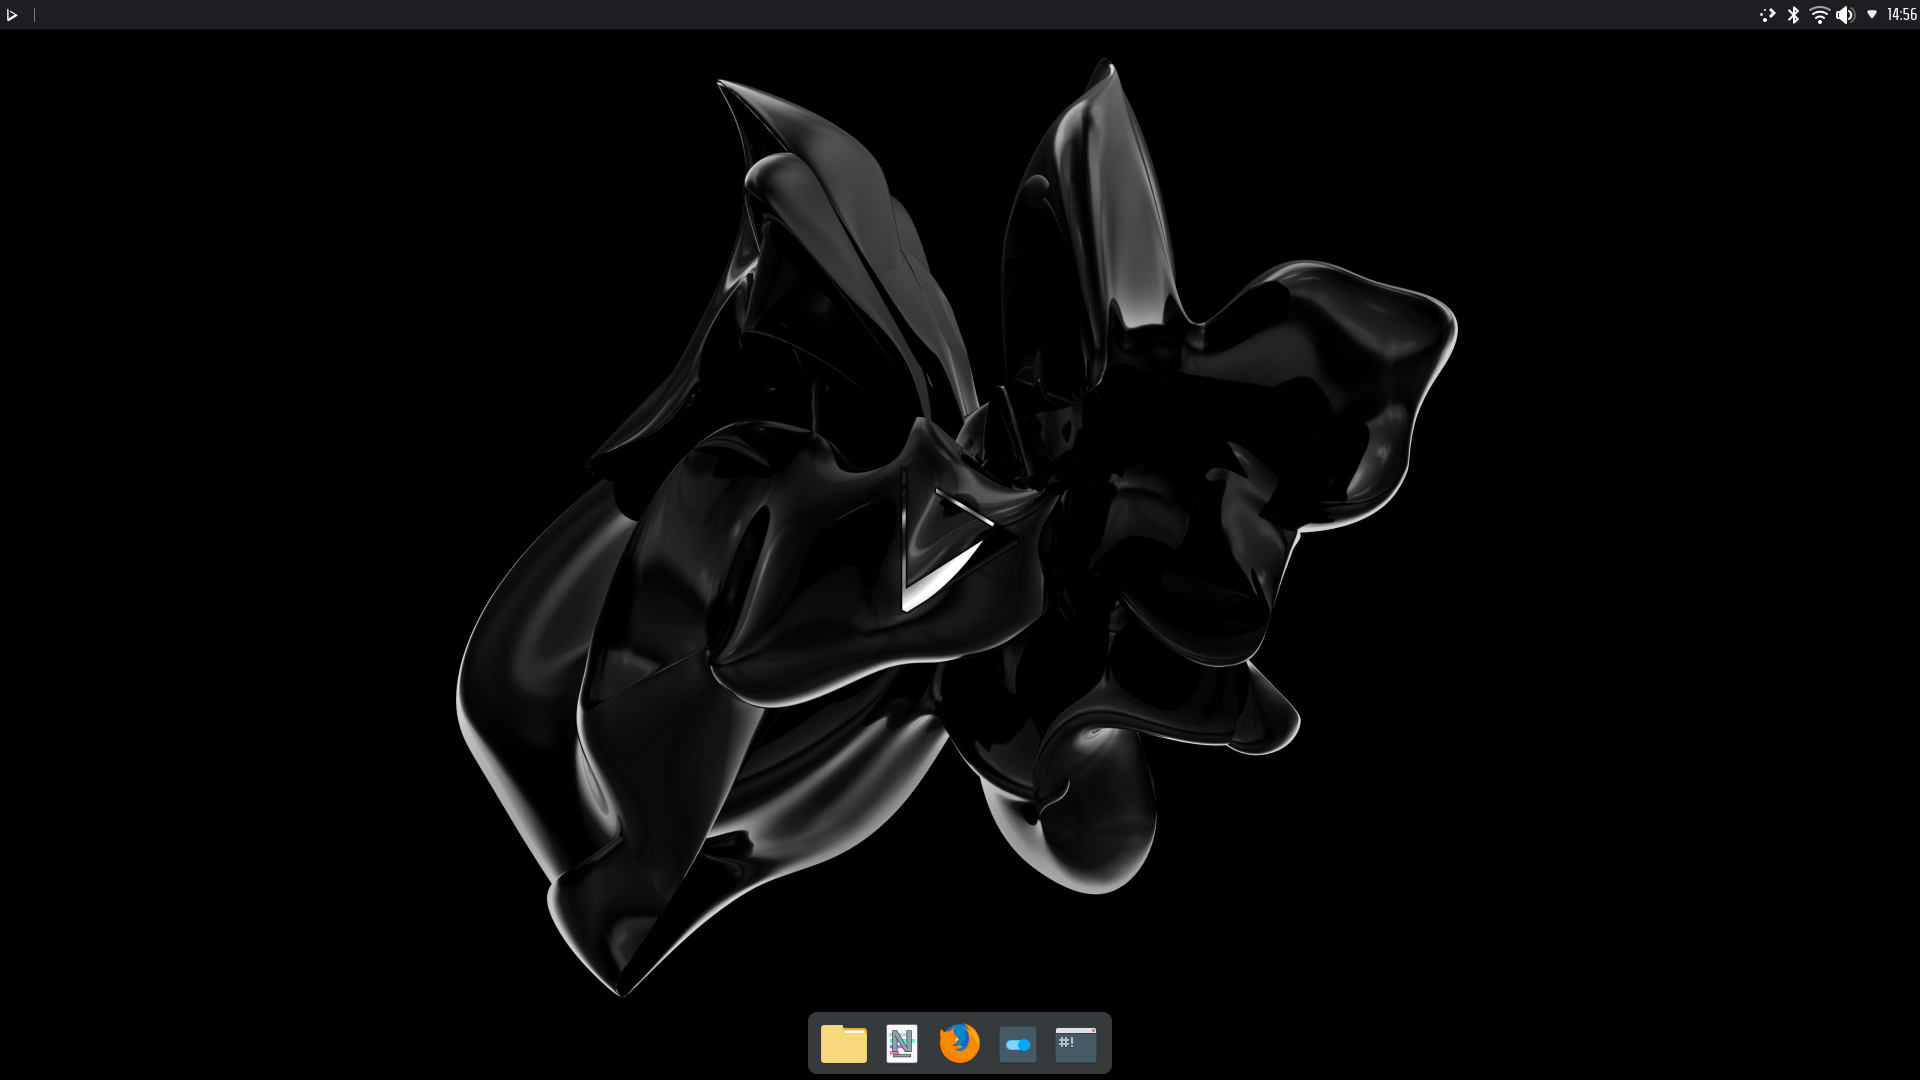
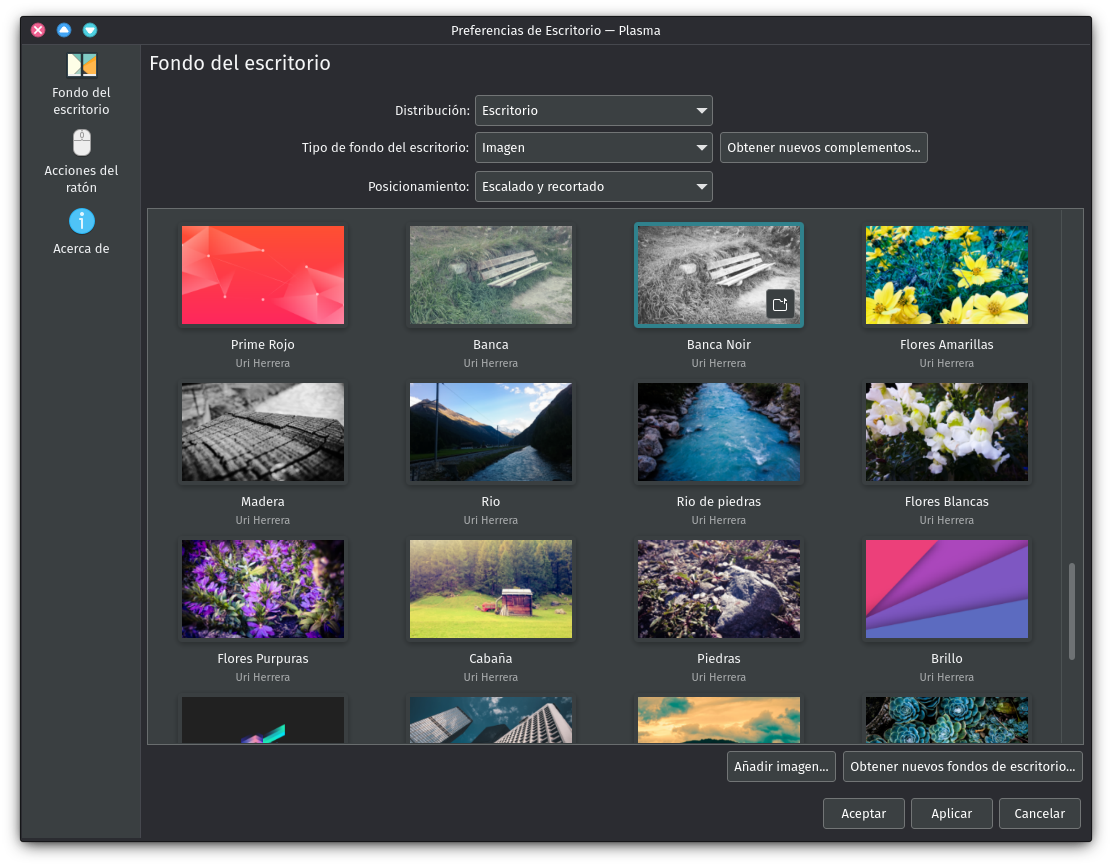
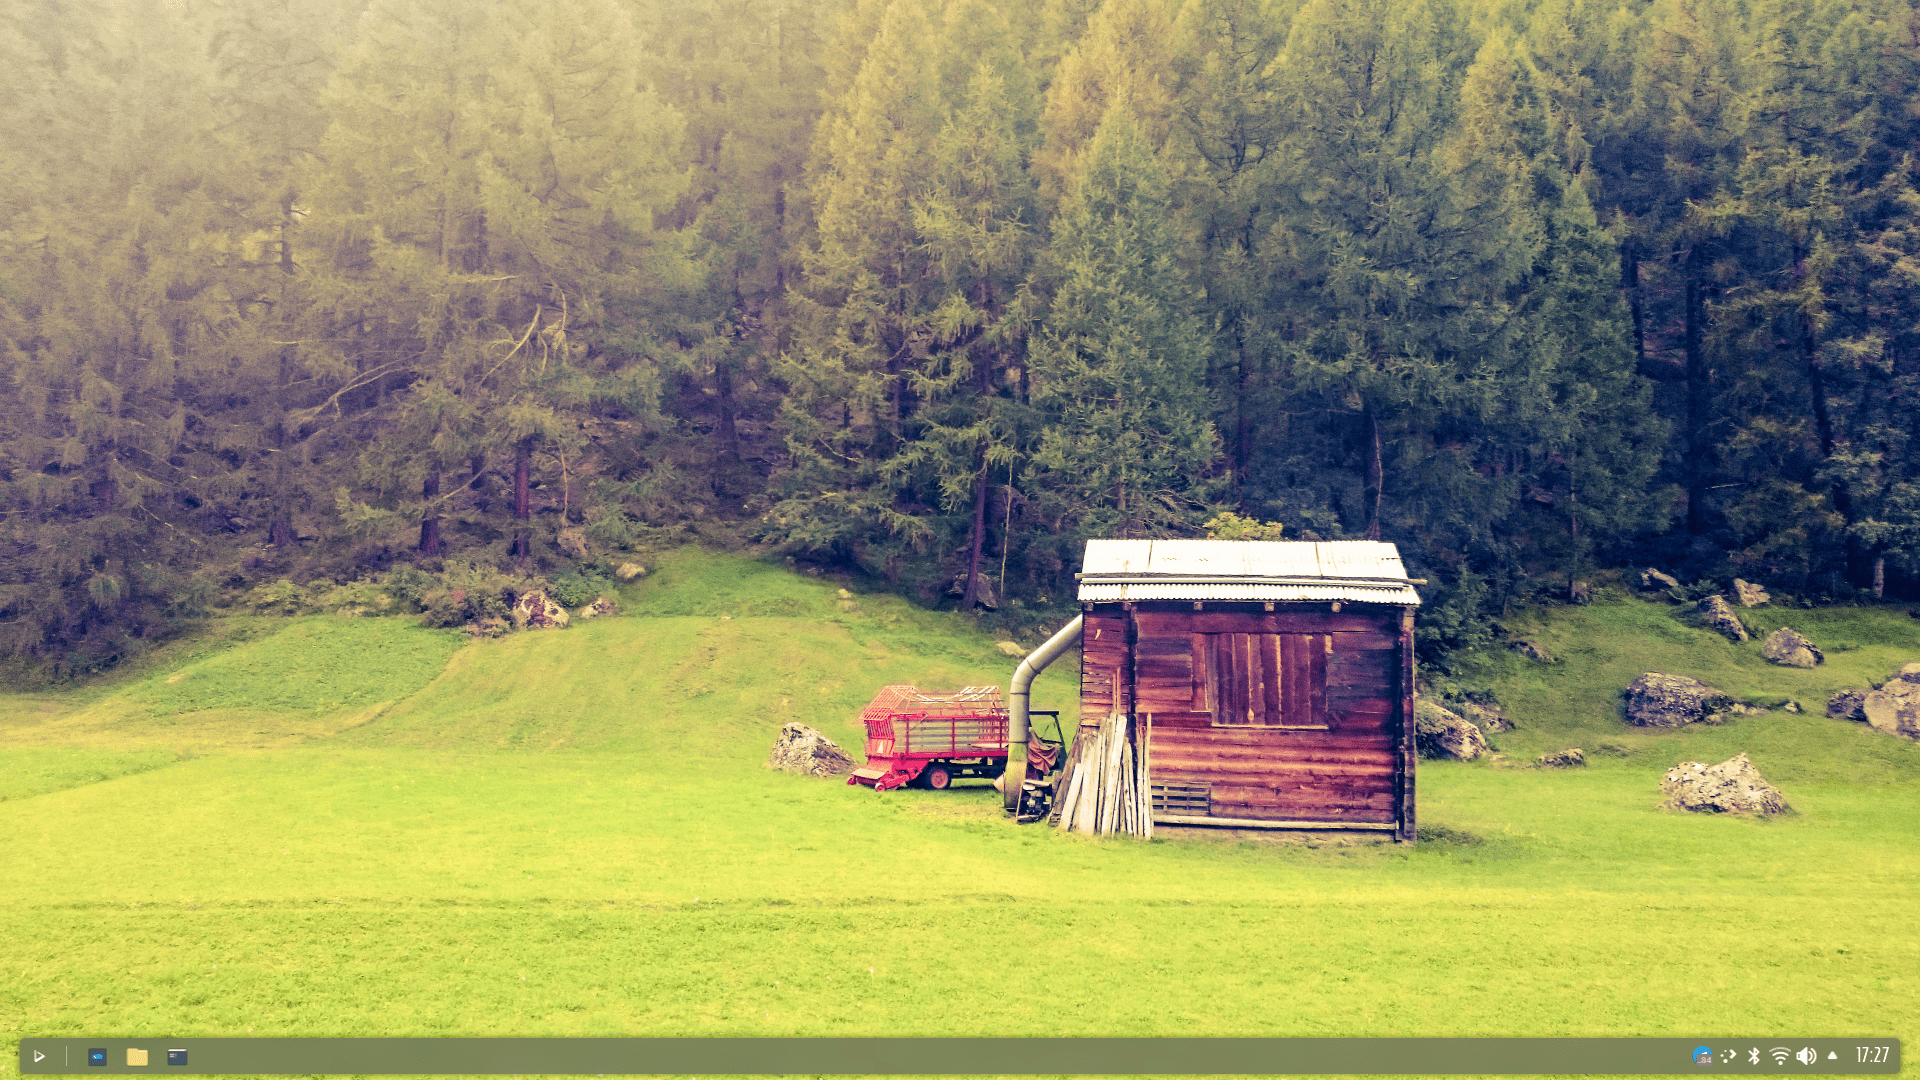
- We’ve added ten new wallpapers to the default wallpaper selection.
- Fun fact: These pictures were taken at the 2015 KDE meeting in Randa, Switzerland.
- We’ve updated the Latte Dock layouts to use the floating dock feature. The default pictured above is the macOS-style layout, and the alternative is the single taskbar-style floating panel pictured below.
- To switch between each layout, see Notes.
Updated Latte Dock layouts.
- We’ve updated LibreOffice to version 7.1.4.2.
- We’ve updated Firefox to version 89.0.2.
- We’ve updated Heroic Games Launcher to version 1.7.2
- We’ve updated pacstall to version 1.4.
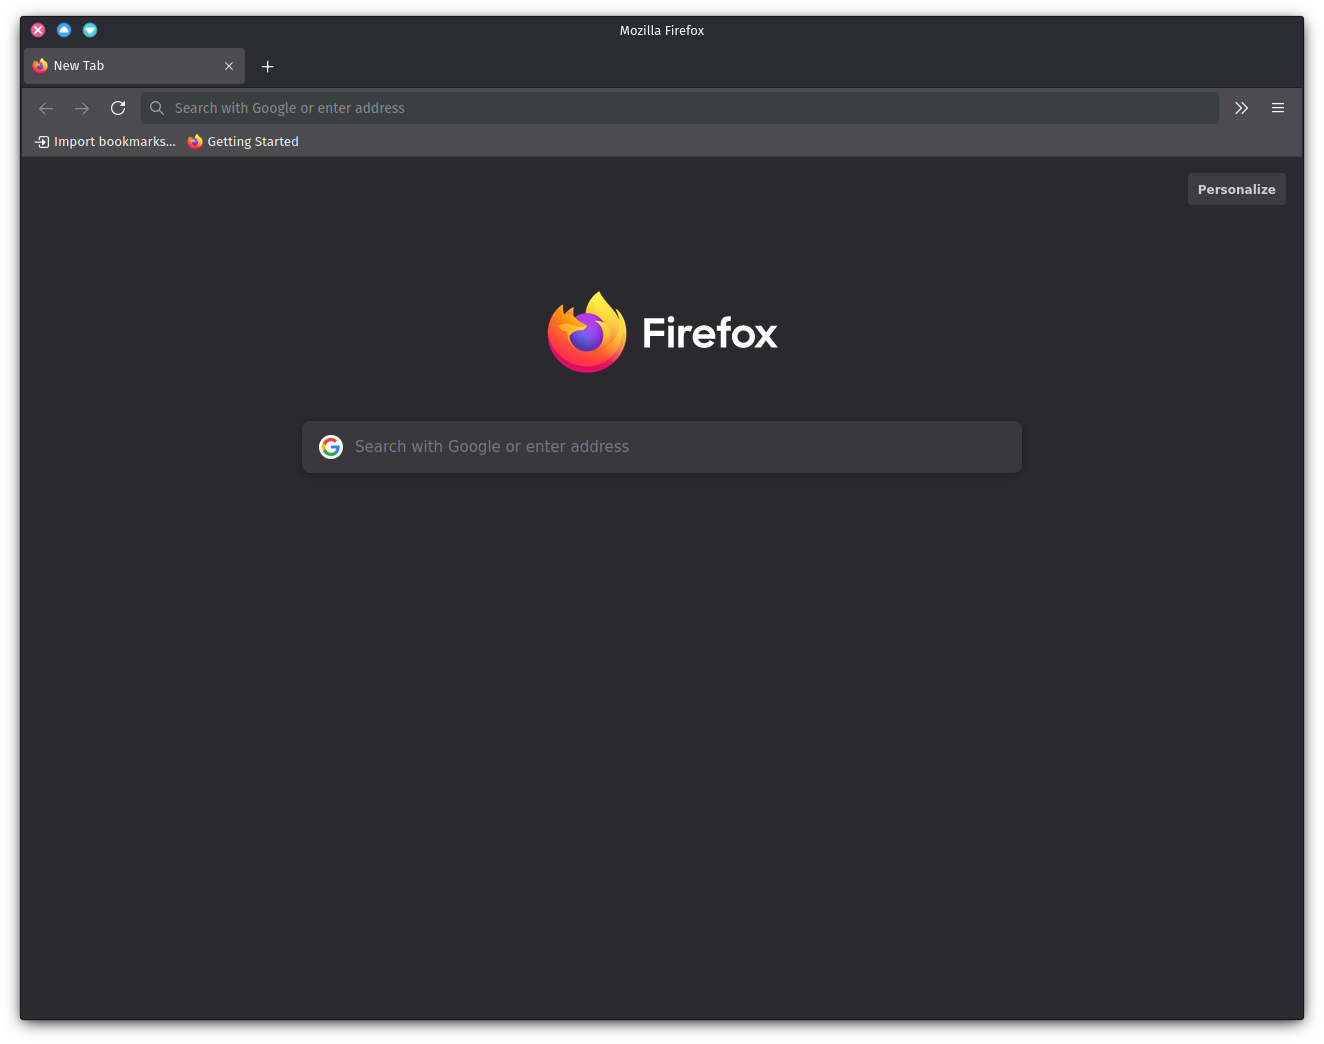
Firefox 89.0.2.
- We’ve updated the minimal ISO to the same base as the main release.
- To install other DEs using the minimal ISO, see Installing other DEs in Nitrux.
- We’ve added two virtual appliances for those interested in trying Nitrux in a virtual machine. The virtual appliances are created using VirtualBox 6.1.22. Below is a comparison table of the virtual appliances’ default configuration.
- After adding the virtual appliances, all of their hardware settings can be configured to fit the host capabilities.
- The password for the virtual appliances and the default user is nitrux.
- No extra software (other than the Oracle Guest Additions) is installed, where applicable.
- No extra software (other than the Oracle Guest Additions) is installed, where applicable.
| Default VM Configuration | Standard (w/ NX Desktop) | Minimal (w/o NX Desktop) | |
|---|---|---|---|
| General | Encrypted Storage | ✔ | |
| System | Motherboard, CPU, RAM | 6GB RAM 6 CPU Cores |
800MB RAM 1 CPU Core |
| EFI, VT-x/AMD-v, KVM, nested paging | |||
| ICH9 | |||
| Screen | Graphics Controller | 128MB | 16MB |
| VMSVGA | |||
| 3D Acceleration | ✔ | 🚫 | |
| Storage | SATA | 4x Ports w/ host cache | |
| Audio | PulseAudio, Intel HD Audio | ✔ | |
| Network | Intel 82545EM Server | ✔ | |
| Serial Ports | 🚫 | ||
| USB | USB 3.0 | ✔ | 🚫 |
| USB 2.0, 1.1 | ✔ | ✔ | |
| Extras | Guest Additions from ISO | ✔ | 🚫 |
📥 Download
Here are various ways to download our ISOs and virtual appliances.
- ISO — Direct HTTP download from our server.
- OVA — Direct HTTP download from a mirror.
- FOSS Torrents (Torrent).
- Sourceforge (mirror).
- OSDN (mirror).
Checksums (MD5).
- ISO files.
- Virtual appliances.
ISO build commit (Travis CI/GitHub).
To see this information, open the ISO file with a file archiver and open the text file named “.INFO”. When reporting bugs, please add this information so that we can review the build log. All of our ISO files (past and present) contain this file.
- nitrux-release-amd64_2021.06.29.iso: RELEASE 574396d.
- nitrux-release-minimal-amd64_2021.06.29.iso: RELEASE 08c1521.
⛔ Known issues
- cgroupfs-mount needs to be started manually, followed by dockerd to initialize the Docker daemon to use Docker containers.
- When booting our ISO in a recent Virtualbox (6.1.14+) and EFI is enabled, the ISO is not booted automatically. To boot the ISO, access the Virtualbox EFI firmware pressing ESC during boot, then navigate to Boot Maintenance Manager, then Boot From File; The boot menu will display a list of devices; select the entry that has CDROM in it, then select the entry <efi> and press Enter, then select <boot> and press Enter, then select <bootx64.efi> and press Enter.
- VMWare Workstation does not present this problem.
- In some instances, the system will (seemingly) halt its boot process with the error ERROR: plymouth failed to start. Check the issue at GitHub for more information, and also, we’re offering a bounty for anyone willing to fix this problem.
- Due to a bug resulting from a combination of dosfstools 4.2.1, libkpmcore 20.12.3, and Calamares, we strongly recommend users not to update dosfstools during the Live session. Once the system is installed, users can upgrade dosfstools as well as libkpmcore safely.
- On the 29th of June, we’ve initiated our move to a new infrastructure, including our APT repository and storage server. Due to this, the media available above includes the URL of our previous repository. We recommend that users upgrade the package nitrux-repositories-config to resolve this problem. To do this, follow the instructions below.
- Download this package: https://packagecloud.io/nitrux/repo/packages/debian/trixie/nitrux-repositories-config_0.2.6+dfsg_amd64.deb.
- Clean the local package index:
-
sudo apt clean && sudo apt autoclean
-
- Install the package:
-
sudo dpkg -i $path_to_file
-
🗒 Notes
- OpenGL acceleration is used by default if you use Nitrux in a VM, open System Settings>Monitor>Compositor, and select XRandr in addition to disabling desktop effects like Blur for better performance.
- To utilize 3D acceleration in a hypervisor like VirtualBox, please use the guest additions ISO from Oracle, do not use the Debian packages from the repositories. For VMware Workstation and VMware Player, please use the package open-vm-tools-desktop from the repositories.
- By default, when creating a new virtual machine in VirtualBox, the graphics controller selected is VMSVGA, which requires the guest additions to be installed to change the screen resolution. Changing the graphics controller to VBoxVGA or VBoxSVGA will allow changing the resolution without the guest additions.
- The managed locations (and thus the default) for AppImages in Nitrux are /Applications and ~/Applications.
- AppImages launched from the application menu will be launched using firejail for sandboxing by default.
- The default user and password are nitrux.
- Changing the theme using the Global Theme KCM does not alter the Kvantum theme; to properly change the Kvantum theme, use Kvantum Manager.
- The Kvantum theme does not pick up the color scheme selected using the Colors KCM since the Kvantum SVG theme engine does not work. When Kvantum is used, the color scheme complements the Kvantum theme, as the theme already provides the colors for the UI widgets.
- Discover and the Maui apps use QML and not QtWidgets like System Settings, Ark, KCalc, etc. So they are not themed to the full extent that QtWidgets apps are because Kvantum does not support QML adequately.
- Both Kvantum themes support transparency and blur, but it’s not enabled by default.
- We include two layouts for the desktop, one is the default top panel and bottom dock, and the other is a single bottom panel; Latte Dock uses both. To change between them, right-click the dock or the panel. Using the Global Theme KCM and checking “Use desktop layout from theme” does not change the layout.
- The Flathub repository is not added by default. However, it can be easily added using Plasma Discover by going to Settings>Add Source or using the terminal and entering the Flathub URL described in the Flatpak quick setup guide.
- Nitrux is exclusively a 64-bit Linux distribution; however, software like Steam (32-bit) can be installed using Flatpak, and Windows software can be run using Wine. See using Wine in Nitrux.
- We’ve removed the Nvidia proprietary driver from the ISO file due to a bug with laptops using Optimus. However, users that wish to use the Nvidia proprietary driver can do so by running the following command post-installation.
- The command will install the driver, the driver settings program, the PRIME command, and our X11 configuration for the Nvidia driver. For laptop users, after installing the package, the default PRIME profile will be on-demand.
-
sudo apt install -yy nvidia-x11-config
-
- The command will install the driver, the driver settings program, the PRIME command, and our X11 configuration for the Nvidia driver. For laptop users, after installing the package, the default PRIME profile will be on-demand.
- The Plasma (Wayland) session currently works better with Intel and AMD graphics cards. Additionally, the session can work with Nvidia graphics cards, albeit with reduced performance.
- Due to OSDN file size limitations, the ISO image is split into multiple parts; to join them, run the following command.
-
cat nitrux-release-amd64_2021.02.27.iso.part.* > nitrux-release-amd64_2021.02.27.iso
-
- When installing the meta-packages to add other desktop environments in the minimal ISO, depending on the meta-package, it may or may not include the complimentary utilities such as a file manager, text editor, terminal emulator, web browser, etc., or additional hardware drivers. As well as customizations of any kind, this is not a bug.
- By default, only a single TTY is enabled (TTY7) to display the graphical session. To enable other TTYs, run the following command.
- The default TTY for the graphical session can change if your computer is utilizing the Nvidia proprietary driver.
-
# Replace ttyX with a number, i.e., tty2..{3,4,5}.
sudo agetty -s 38400 -t 600 ttyX linux &
- We also offer users the possibility of using Git builds of MESA to complement the performance gains from utilizing either the two new kernel options, Liquorix or Xanmod. To do this, run the following commands.
-
sudo apt install mesa-git
sudo apt upgrade -yy
-
- For users that decide to use the minimal ISO, here’s an i3 cheat sheet to get around it.
- To start Calamares in the minimal ISO, run the following command.
-
sudo -E calamares
-
- We also include a simple text file called installed_pkgs.txt in the root that, as its name suggests, lists all installed packages by default in the distribution. This file is present in both ISO files, and users can use it to compare larger changes from release to release, like package updates.
🐞 Report bugs
To report bugs, please use our bug tracker at GitHub.
📝 Changelog history
To see a list of previous changelogs, click here for the changelogs archived at our site, or click here for the changelogs archived at Sourceforge.
📰 Resources
Here are various articles, tutorials, and other information directly on our blog.