
Samba is one of the many ways to share files and directories across a network on Linux. With a Samba share up and running, any machine within your LAN can access the contents of the shared directory—so long as the user has access. Samba is also one of the easiest to set up for this task.
In today’s tutorial, we’ll set up a Samba share.
Difficulty: ★☆☆☆☆
📜 Table of Contents
Configuring a Samba share
Next, Samba shares will be configured in /etc/samba/smb.conf, so open that file with the command.
- ⚠️ Important: To edit the configuration file for Samba shares, see XFS Features and Root Immutability in Nitrux.
sudo micro /etc/samba/smb.conf
The first option we’ll configure is the workgroup name. Look for the line:
workgroup =
Change that to:
workgroup = WORKGROUPNAME
Where “WORKGROUPNAME” is the name of the workgroup or NT domain your Samba server will exist within. Then, create either a directory or take note of the directory path you will set as the share. Ensure the directory is accessible to the user you’re entering in the configuration file. We created the directory /smb_share in this example.
To configure the share, add the following to the bottom of the file.
[DATA]
    path = /directory
    valid users = @user
    browsable = yes
    writable = no
    read only = yes
You can adjust the values above to your needs.
The configuration is straightforward:
- [DATA] the visible name of the share
- valid users = a group that can access the share.
- path – the exact path of the share
- browsable – makes the share visible to the network
- writable – makes the share writable to authenticated users
- read-only – sets the read-only option to no
Save and close the file

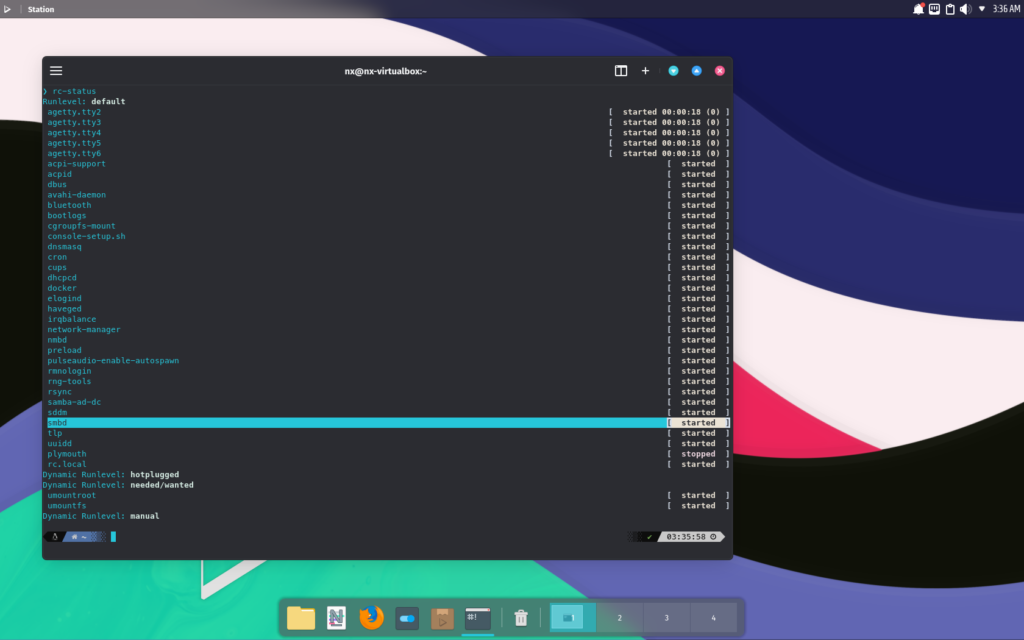
Now, reboot for the service to load correctly. To ensure that the service has started, run the following command.
rc-status | grep smbd
Add a user to Samba
You must also add Samba users; otherwise, they won’t authenticate.
- ⚠️ Important: Adding users for Samba requires accessing the root; see XFS Features and Root Immutability in Nitrux.
The first thing we have to do is add the user to Samba with the command.
sudo smbpasswd -a $USER
You’ll be prompted to type and verify a password for the user.
Next, enable the user with the command.
sudo smbpasswd -e $USER
Connect to the new share
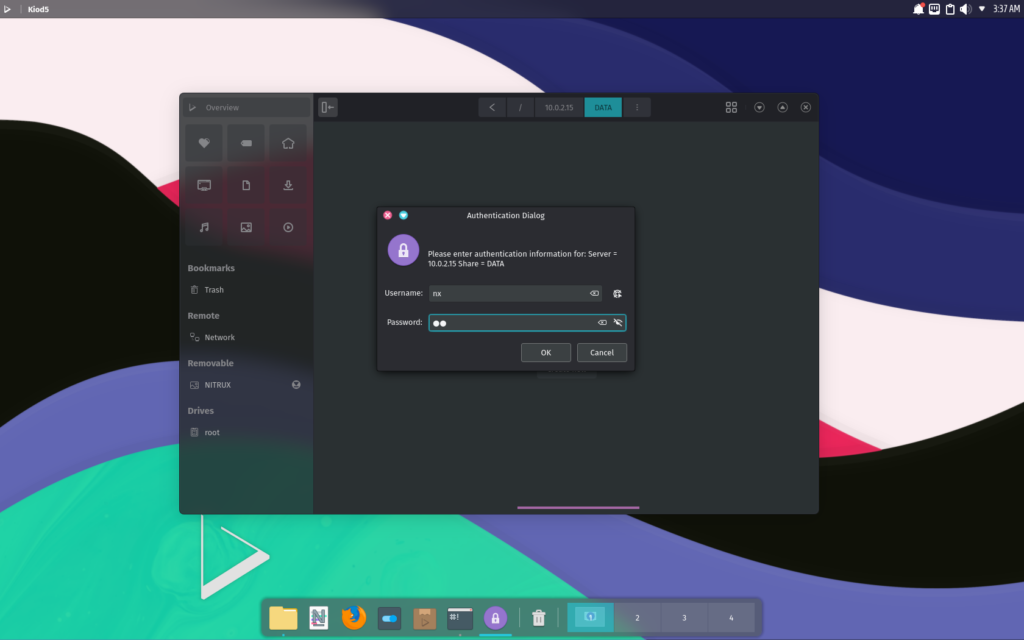
To connect to a share, open Index and right-click to open the context menu, then select Go to and enter the server’s address and the path to the directory. For example, if the server IP is 10.0.2.15 and the share is called DATA, the address would be like this.
smb://10.0.2.15/DATA
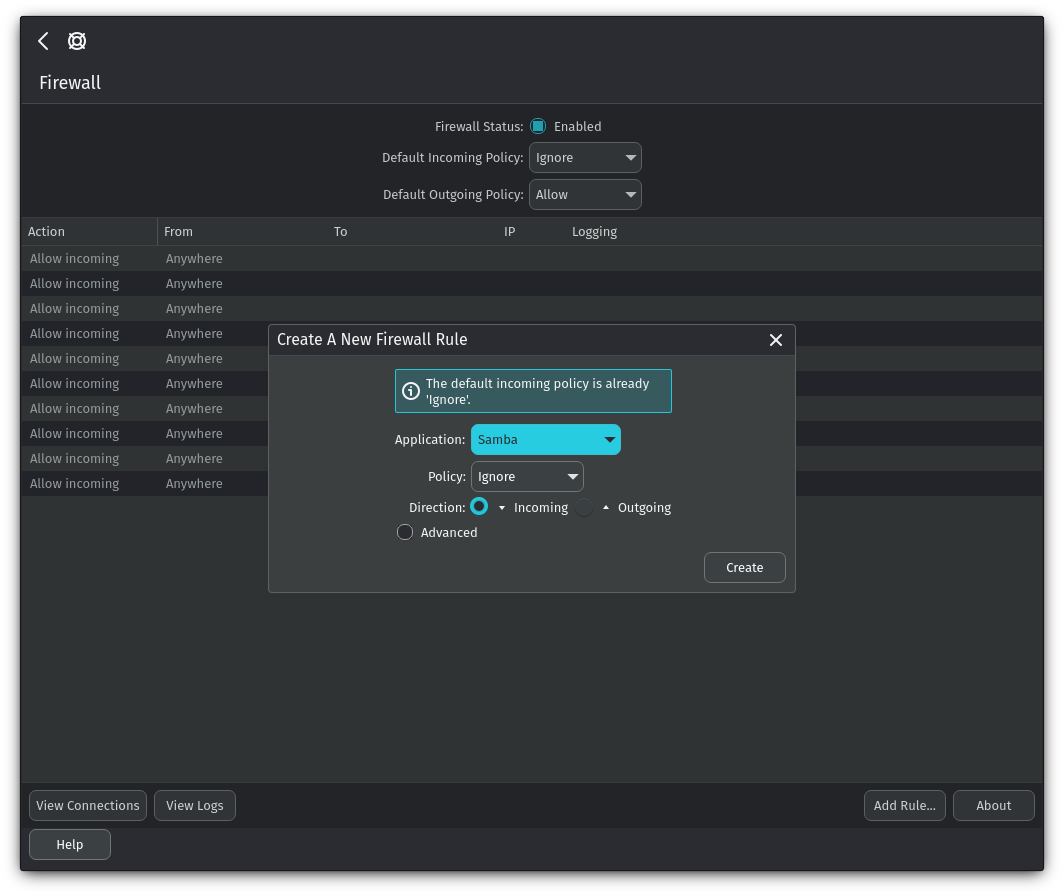
Add the required rules to the Firewall to allow connections to the Samba share. To do this, open System Settings, go to Firewall, click the “Add Rule…” and select Samba from the Application list.
That’s it; you can start working with the files contained within.
Troubleshooting
When accessing a Samba share in Index, the contents may not load immediately, requiring the user to go back and forth without closing the application; otherwise, the user will need to authenticate again.
That’s it; this concludes today’s tutorial.