
Today’s tutorial will check how installing the VirtualBox Guest Additions in the distribution is easy. Despite what some people want to make you believe, the VirtualBox Guest Additions work in Nitrux (and other non-systemd Linux distributions), and it’s as simple as utilizing the Guest Additions disc image provided by Oracle in VirtualBox.
Difficulty: ★☆☆☆☆
Installing Guest Additions
Before starting, please be aware of the following.
- ⚠️ Important: Installing the VirtualBox Guest Additions requires its installer to add files to the root directory; see XFS Features and Root Immutability in Nitrux.
Of course, we must install Nitrux in a virtual machine using VirtualBox. To do this, check out our tutorial to virtualize the distribution. Once we’ve completed the installation, we boot up the virtual machine and do the following.
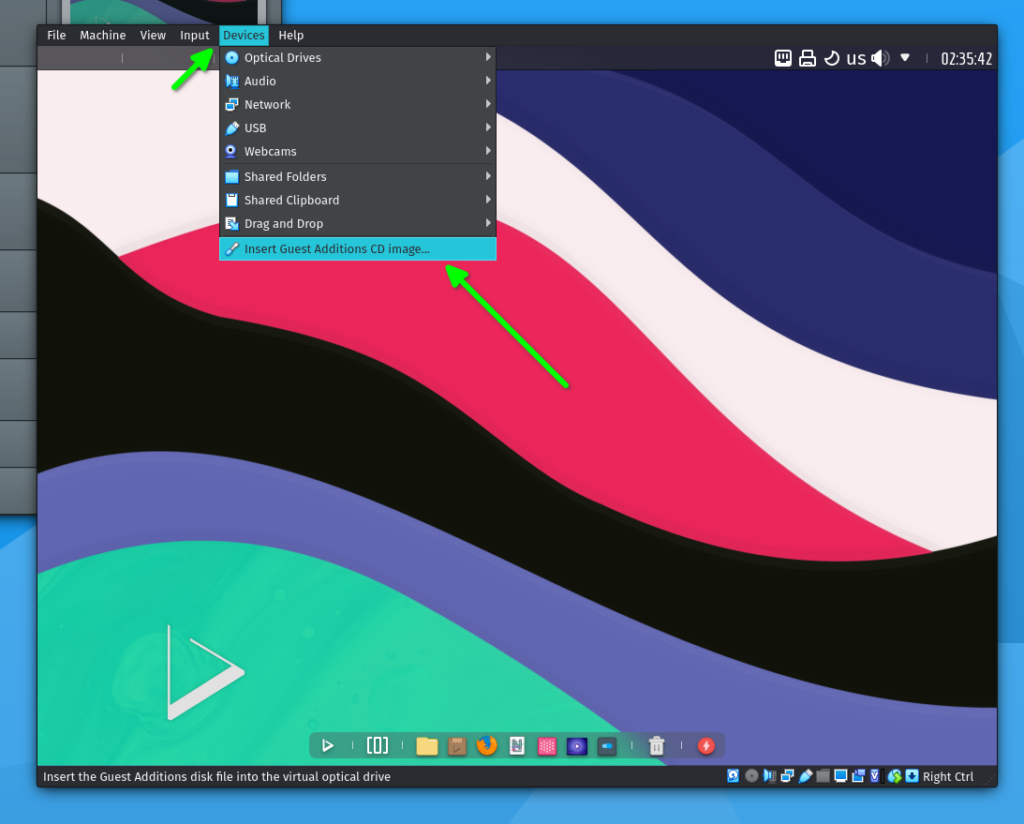
- Click on Devices→Insert Guest Additions CD image…
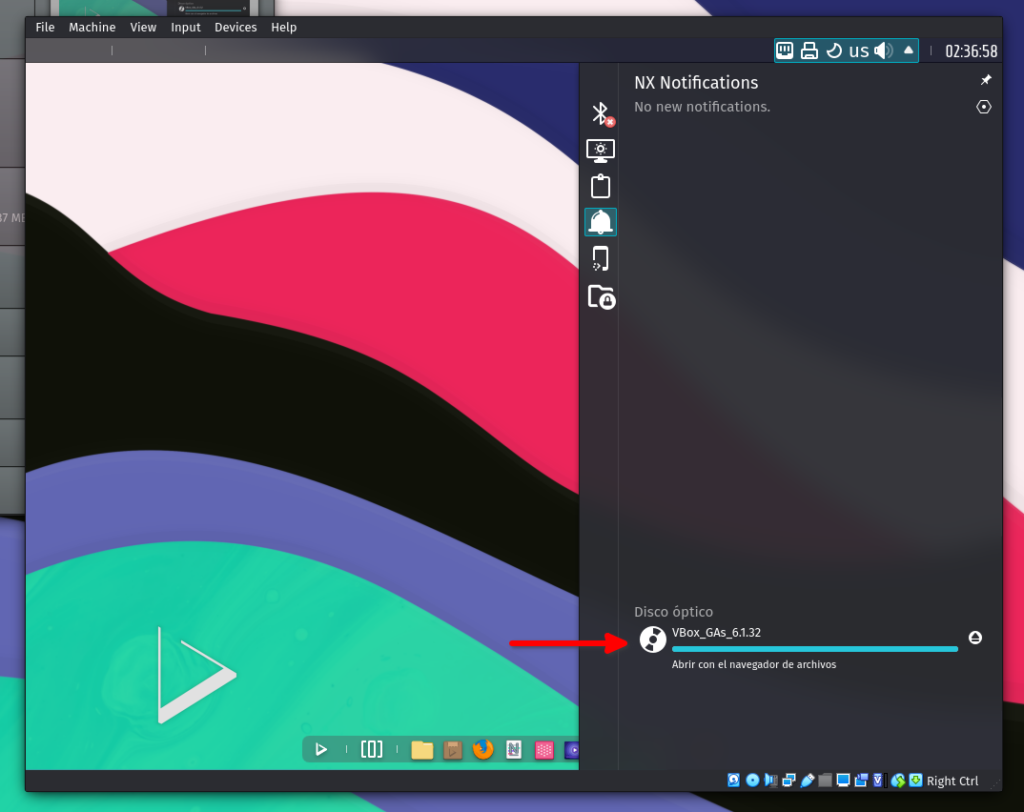
- Inside the virtual machine, click on NX Notifications and click the CD image to mount it.
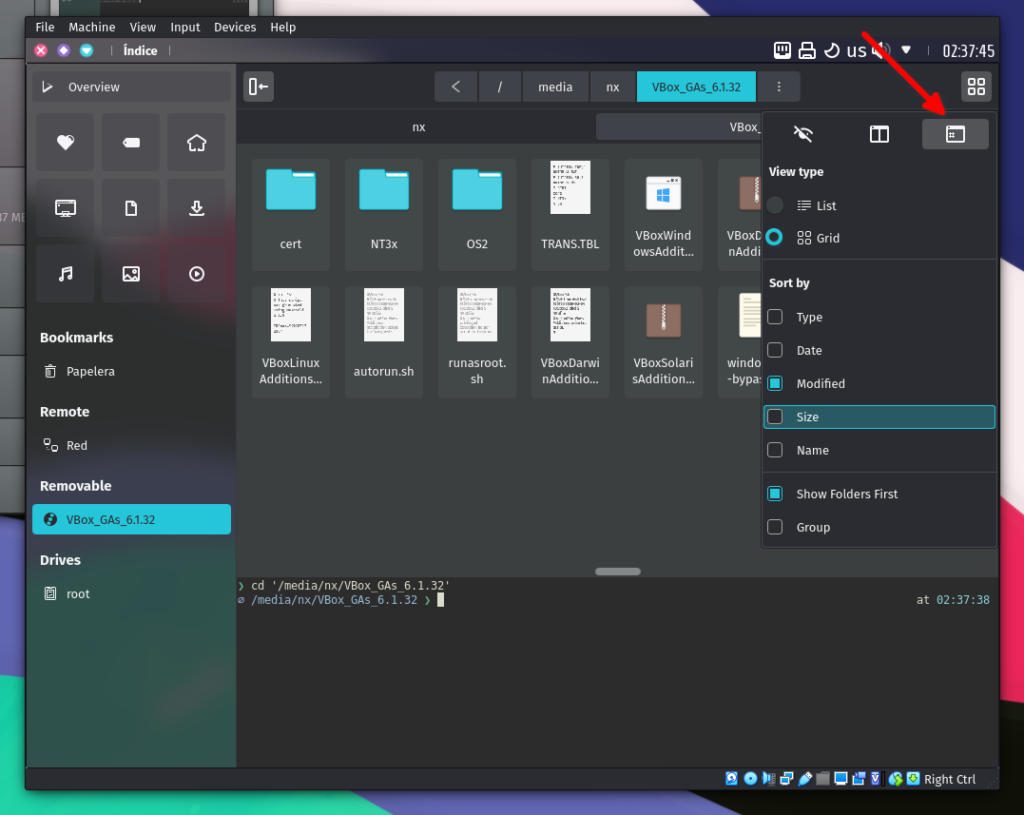
- After clicking the CD image, Index will open in the directory where we mounted the CD image; here, we open the embedded terminal in Index.
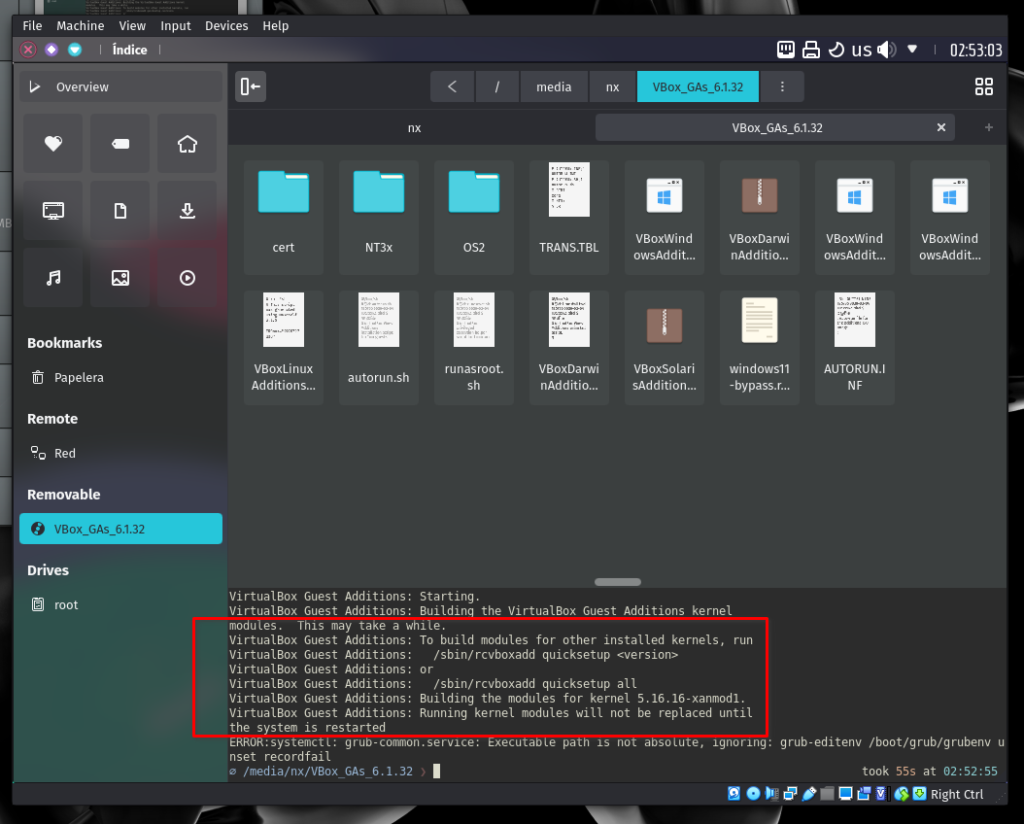
- Then, we run the following command. Since we’re using sudo, you will need to enter your password.
sudo ./VBoxLinuxAdditions.run

Once the install script finishes, we can change the window resolution. Finally, we reboot to ensure that the VirtualBox kernel module is loaded.
- 🔰 Information: As mentioned in the tutorial, Installing Hypervisors in Nitrux, regarding the installer itself. The installer for the guest additions targets distributions using systemd and wants to interact with services, possibly to start them, but systemctl doesn’t do anything in Nitrux. The installation will not fail because of these errors.
Below is a video of the installation process.
That’s it; this concludes today’s tutorial.