
When new users start using Nitrux, many think they can’t install many of their tools in the distribution, such as a hypervisor (specifically, type 2 hypervisors), because they’re accustomed to using a package manager to do that. As we describe in the tutorial about Software Management, several methods exist to manage (add, remove, upgrade) software in the distribution.
In today’s tutorial, we’ll see how to install various hypervisors in Nitrux.
Difficulty: ★☆☆☆☆
📜 Table of Contents
VirtualBox (Oracle Installer)
Let’s kick this off with VirtualBox. VirtualBox is a type 2 hypervisor developed by Oracle for running a virtual operating system on your computer and is arguably one of the most popular hypervisors in Linux. Most users are familiar with the installation procedure in Debian-based distributions, like Debian, Ubuntu, Mint, etc., by obtaining a Debian package from the distribution’s repositories provided by the distribution maintainers or adding a repository.
However, installing VirtualBox without the package manager is also possible using an installer provided by Oracle. The VirtualBox installer (a shell script) will install the application in the root directory, specifically in /opt. Since the user can’t select where to install VirtualBox (whether the user uses this installer or a Debian package), we’ll need to enter the overlay and do the installation process.
The VirtualBox installer is an officially made installation script by Oracle. The installer targets all Linux distributions, not specifically Nitrux.
To install VirtualBox in Nitrux, do the following steps:
- To obtain the link to the installer, visit the official VirtualBox website and click the big button.
- Now click on Linux distributions under “VirtualBox Platform Packages” packages.
- Then right-click on All distributions under VirtualBox 7.1.4 for Linux and select “Copy link” to save the download link to the clipboard.
- ⚠️ Important: According to the release notes of VirtualBox 7.1.4, Linux 6.12 changed the behavior of the KVM modules. This change in the kernel means that to use KVM acceleration, the user must add the following kernel parameter
kvm.enable_virt_at_load=0. - ⚠️ Important: In VirtualBox 7.1.6 r167084, enabling 3D Acceleration causes VMs (not only Nitrux) not to boot; see this thread at the VirtualBox forums. This is not a bug in Nitrux or caused by Nitrux. We recommend using VirtualBox Version 7.1.4 r165100.
- ⚠️ Important: According to the release notes of VirtualBox 7.1.4, Linux 6.12 changed the behavior of the KVM modules. This change in the kernel means that to use KVM acceleration, the user must add the following kernel parameter
- Open the terminal and follow the commands below.
- 🔰 Information: Replace the link accordingly whenever VirtualBox has been updated.
- 🔰 Information: Once executed, the installer displays some “errors” about systemctl. However, we can safely ignore these. The installer targets distributions using systemd and wants to interact with services, possibly adding, starting, or restarting them, but Systemctl doesn’t do anything in Nitrux. The installation will not fail because of these errors.
- ⚠️ Important: As mentioned, the installer will put the files in the directory /opt; see XFS Features and Root Immutability in Nitrux.
- ⚠️ Important: This tutorial assumes that the user wants to install these hypervisors permanently; if that is not the case, follow the instructions without using overlayroot-chroot, i.e., download and run the installer with sudo as your user.
- 🔰 Information: The user account must be added to the group
vboxusers. Replace$USERNAMEwith your actual username.
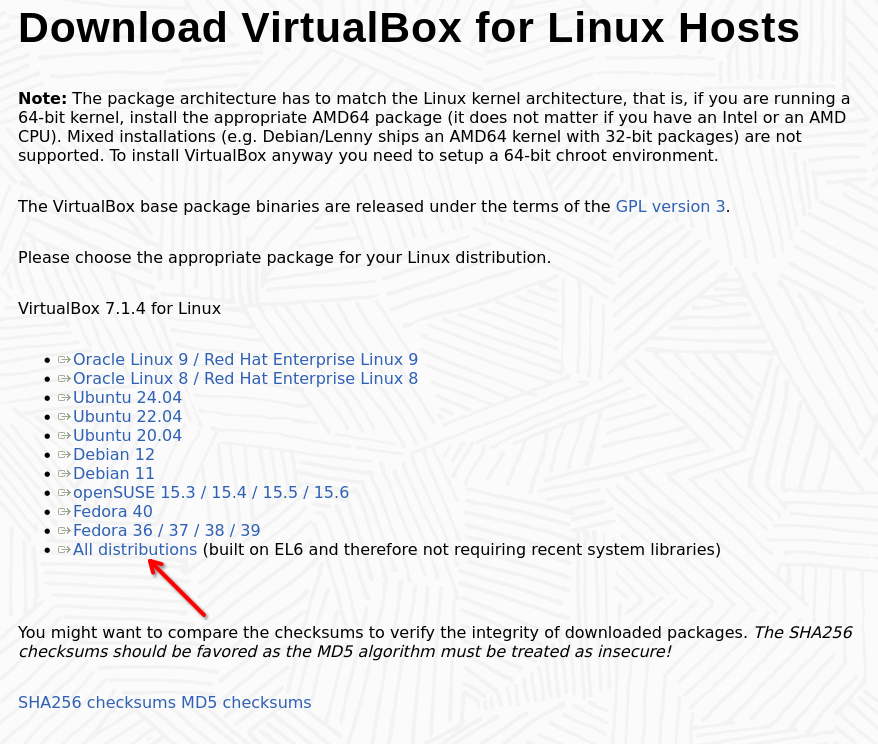
Download VirtualBox for Linux Hosts. Image for reference.
sudo overlayroot-chroot

mount -t devtmpfs dev /dev

axel -a https://download.virtualbox.org/virtualbox/7.0.14/VirtualBox-7.0.14-165100-Linux_amd64.run && chmod +x VirtualBox-7.0.14-165100-Linux_amd64.run && ./VirtualBox-7.0.14-165100-Linux_amd64.run && rm -f /VirtualBox-7.0.14-165100-Linux_amd64.run

usermod -a -G vboxusers $USERNAME

sync

umount /dev

exit
- Once the installation is successful, we need to reboot it since we installed it at the root, and the changes need to be loaded into the overlay.
VMware Workstation Player/Pro (VMware installer)
Another well-known hypervisor is VMware’s Workstation product family. VMware Workstation is a type 2 hypervisor designed for Windows and Linux systems. It allows you to create and manage virtual machines in either Windows or Linux environments.
-
- 🔰 Information: VMware ownership changes have changed the hypervisor’s downloading process.
To install VMware Workstation Pro in Nitrux, do the following steps:
- Register for a Broadcom account or log in.
- Visit this link to easily access the downloads for the hypervisor.
- Select VMware Workstation Pro 17.0 for Personal Use (Linux) and click the download button.
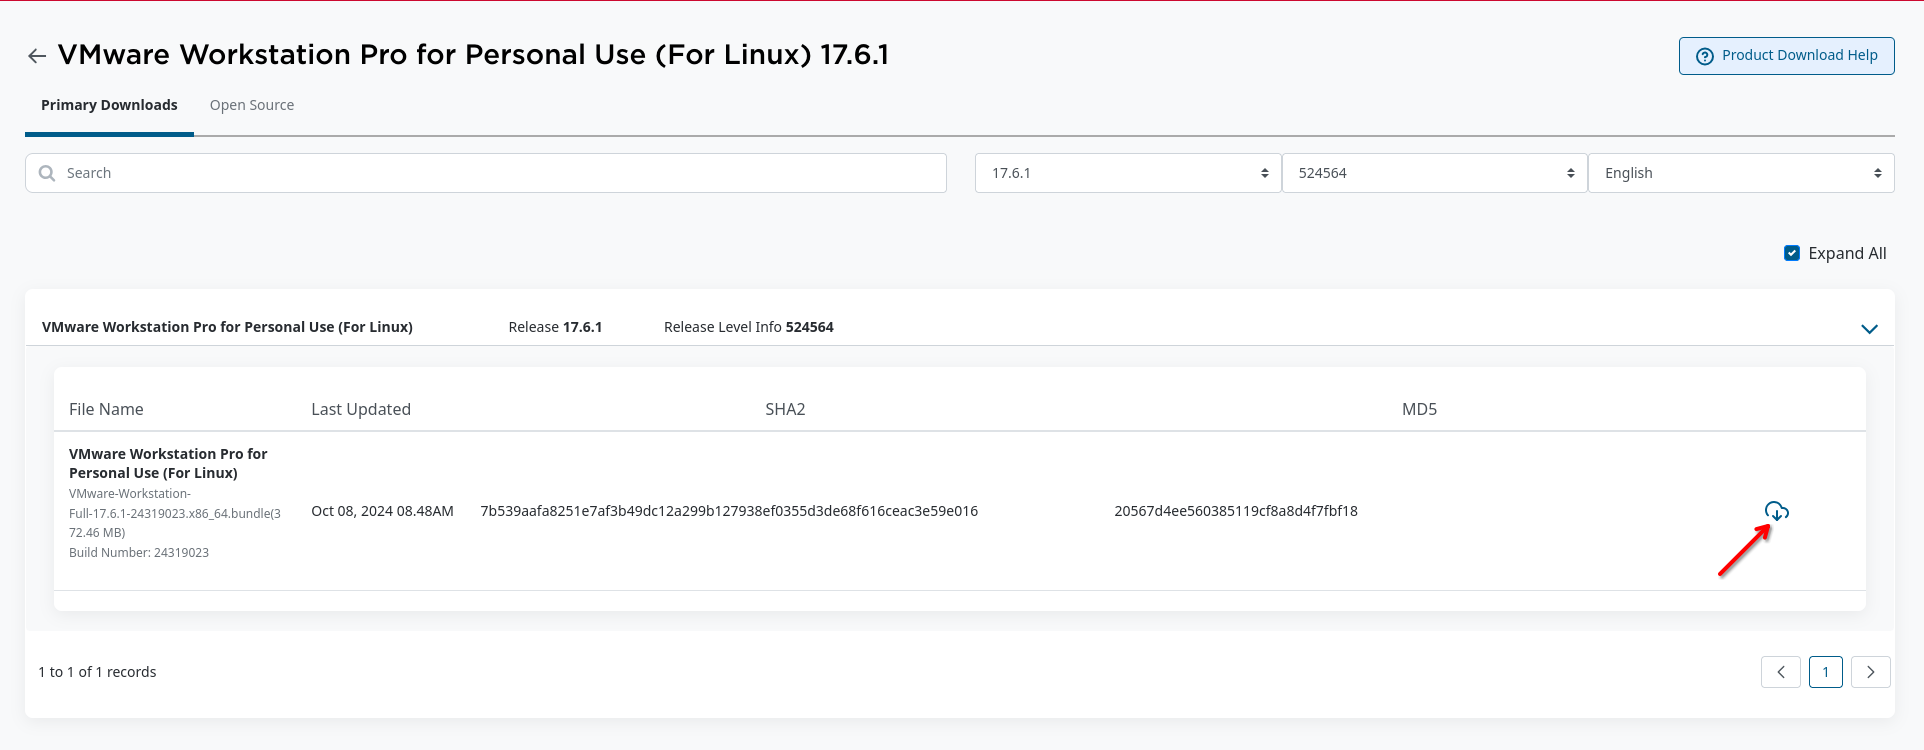
VMware Workstation Pro for Personal Use (For Linux) 17.6.1. Image for reference.
- Since it’s now more cumbersome to download the installer, we’ll download it to our home directory, then mount our home and copy the file to the root.
- 🔰 Information: Replace
$USERNAMEwith your actual username. - ⚠️ Important: As before, the VMware installer will put the files in the root directory; see XFS Features and Root Immutability in Nitrux.
- ⚠️ Important: This tutorial assumes that the user wants to install these hypervisors permanently; if that is not the case, follow the instructions without using overlayroot-chroot, i.e., download and run the installer with sudo as your user.
- 🔰 Information: Replace
sudo overlayroot-chroot

mount -t devtmpfs dev /dev

mount -t auto $(findfs LABEL=NX_HOME) /home

cp /home/$USERNAME/Downloads/VMware-Workstation-Full-17.6.1-24319023.x86_64.bundle . && chmod +x VMware-Workstation-Full-17.6.1-24319023.x86_64.bundle && ./VMware-Workstation-Full-17.6.1-24319023.x86_64.bundle && rm -f /VMware-Workstation-Full-17.6.1-24319023.x86_64.bundle

sync

umount /dev /home

exit
- Once the installation is successful, we need to reboot it since we installed it at the root, and the changes need to be loaded into the overlay.
GNOME Boxes (Flatpak)
GNOME Boxes is free and open-source software that is very easy to use and makes it simple to create and manage virtual machines by abstracting many options. GNOME Boxes, on the other hand, is targeted towards a typical desktop end-user who wants either a very safe and easy way to try out new operating systems or new (potentially unstable) versions of their favorite operating system(s), or needs to connect to a remote machine (home-office connection being a typical use-case). For this reason, GNOME Boxes does not provide many advanced options to tweak virtual machines virt-manager provides. Instead, GNOME Boxes focuses on getting things working out of the box with very little input from the user.
GNOME Boxes is available as a Flatpak and can be installed from Flathub.
To install GNOME Boxes in Nitrux, do the following.
- 🔰 Information: As mentioned in the tutorial about Software Management, download Bauh from the NX Software Center and search for GNOME Boxes on Flathub.
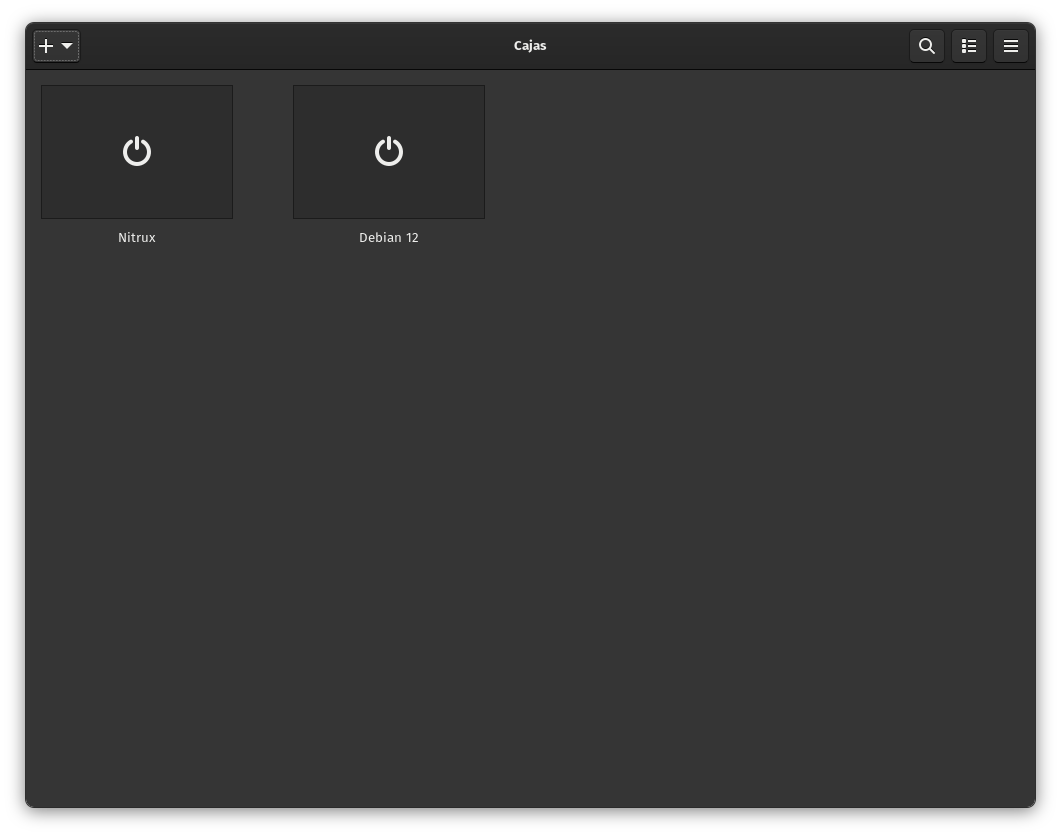
GNOME Boxes window. Image for reference.
AQEMU (Distrobox)
AQEMU is a GUI for virtual machines using QEMU as the backend. It provides support for the KVM accelerator on Linux. The application has a user-friendly interface and allows users to set many options. Since AQEMU is unavailable as an AppImage or a Flatpak, we can install it using Distrobox.
Let’s assume we use a container similar to the tutorial to use Distrobox. To install AQEMU in Nitrux, do the following steps:
distrobox enter -n debian-stable-distrobox -- sudo apt -y install aqemu qemu-system-x86
We can export the application using Distrobox to list it in the applications menu. To do this, run the following command.
distrobox-export -a aqemu
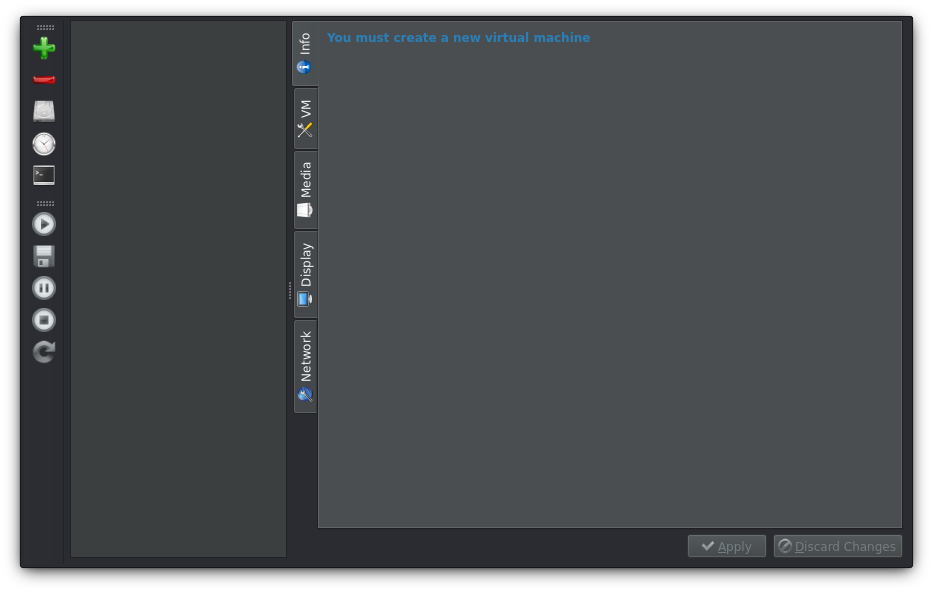
AQEMU in Distrobox. Image for reference.
That’s it; this concludes today’s tutorial.