
Nitrux is a distribution that doesn’t revolve around a package manager like other distributions; in Nitrux, the preferred method of obtaining new software is using AppImages. However, we understand that not all software is available as an AppImage. So, by default, we have included various options for users, such as Flatpak and Distrobox, to complement AppImages.
Additionally, Nitrux is an immutable distribution (the root is immutable by default), with the idea being that by making the root immutable, we provide users with a functional system that will not break over an update from a delivery channel we can’t control and that each upgrade to a new version occurs without anomalies, what we call “to have degree of certainty.” In fact, in Nitrux, there is no package manager because, of course, having a package manager that can alter the root wholly defeats the purpose.
Having laid out the context, today’s tutorial will look at how users can manage software in Nitrux.
Difficulty: ★☆☆☆☆
📜 Table of Contents
AppImage
An AppImage is a downloadable file for Linux that contains an application and everything the app needs to run (e.g., libraries, icons, fonts, translations, etc.) that you can’t expect to be part of each target system.
The first method of managing software in Nitrux is using AppImages. AppImage provides a very simplistic solution to software distribution: a one-click solution to obtain software that is instantly accessible to anyone.
- The managed locations (and thus the default) for AppImages in Nitrux are /Applications and ~/Applications.
- 🔰 Information: The NX Software Center was deprecated on February 15th, 2025.
- AppImages launched from the application menu will be launched using Firejail for default sandboxing in Nitrux.
- Some Electron applications or Chromium-based web browsers packaged as AppImages will refuse to run when using Firejail unless the application uses a specific Chromium flag. To run these Chromium-based AppImages, append the following Chromium flag.
- 🔰 Information: What does the Chromium option “–no-sandbox” mean?
electron-app.AppImage --no-sandbox
chromium-based-browser.AppImage --no-sandbox
- For AppImages that refuse to work and are not Chromium-based, edit the desktop launcher to launch the AppImage directly. Open the applications menu, right-click the launcher to edit, go to the tab “Applications,” and on “Program,” only enter the full path to the AppImage. Leave “Argument(s)” blank if no arguments will be passed.
-
- ⚠️ Important: We strongly emphasize that we do not recommend running AppImages without the Firejail sandbox, especially anything connected to the internet. Do it at your own risk.
-
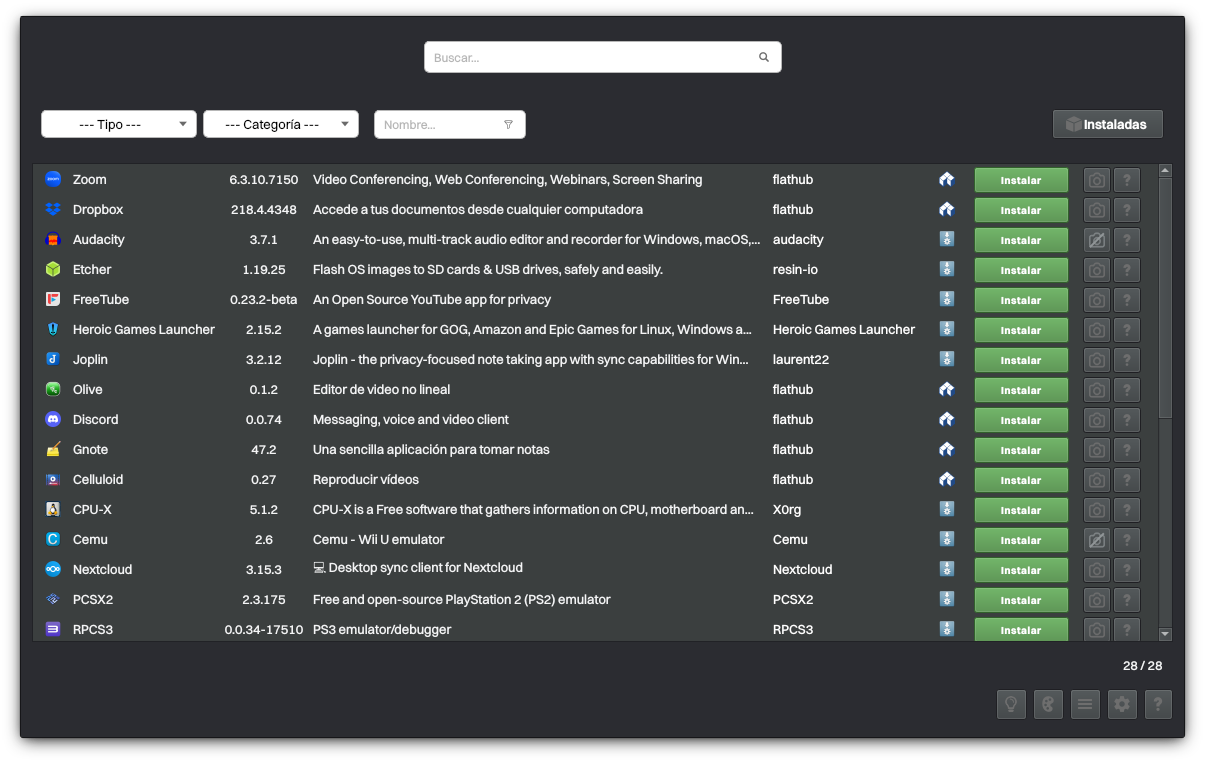
Bauh can manage both AppImage and Flatpak. Image for reference.
Disclaimer: We do not create, maintain, or host the AppImage files the software center lists. These files are created, maintained, and hosted by third parties. Please let their creators or maintainers know if you have issues with these files.
Flatpak
Flatpak builds upon existing technologies such as CGroups, namespaces, bind mounts, and seccomp in the Linux kernel, OSTree from Project Atomic, and the OCI format developed by the Open Container Initiative.
- Nitrux supports Flatpak by default, and Flathub is also enabled by default. However, the order of preference for obtaining end-user software is AppImage first and Flatpak second.
- ⚠️ Important: Users who want to use bleeding-edge Flatpaks can enable Flathub-beta. Do it at your own risk.
flatpak remote-add --user flathub-beta https://flathub.org/beta-repo/flathub-beta.flatpakrepo
- To manage Flatpaks using a graphical application, we recommend that users install either Plasma Discover or GNOME Software on Distrobox; see Managing Flatpaks in the Host using a Container.
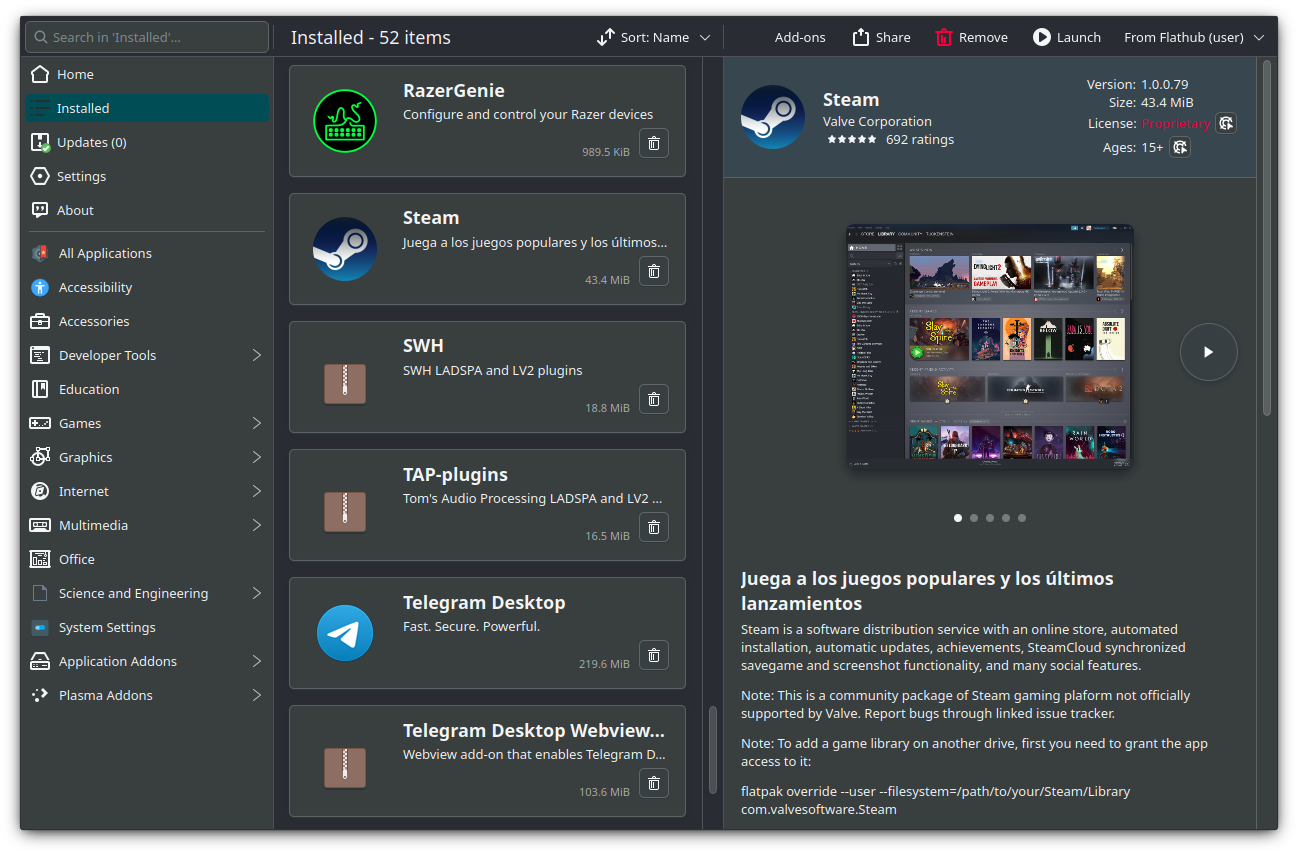
Plasma Discover in Distrobox (Arch Linux container). Image for reference.
- Users can install Bauh from the applications menu.
- 🔰 Information: Nitrux does not come with Bauh by default. Since AppImages are executed using Firejail, this may interfere with installing some Flatpak applications, i.e., Bauh may display the error
bwrap: execvp /app/bin/apply_extra: Permission deniedorbwrap: Can't mount proc on /newroot/proc: Operation not permittedwhen running under Firejail. Install the application using the method above, the terminal, or run Bauh without Firejail to avoid this issue.
- 🔰 Information: Nitrux does not come with Bauh by default. Since AppImages are executed using Firejail, this may interfere with installing some Flatpak applications, i.e., Bauh may display the error
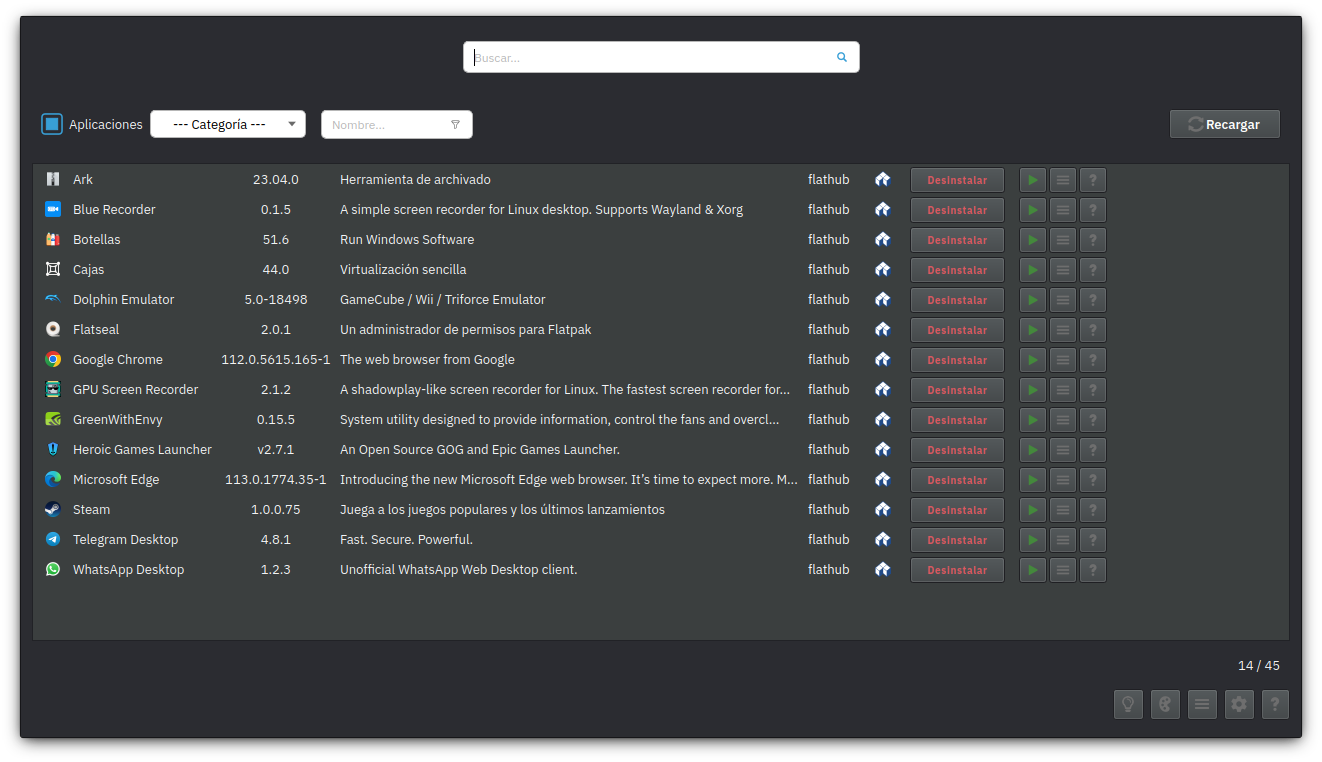
Bauh (not included by default). Image for reference.
Flatpak Runtime Information
Below is the information we deem essential for users to know about Flatpak runtimes.
- Due to Flatpak’s design, most applications automatically install a runtime containing graphic libraries, like MESA or, for NVIDIA hardware, the NVIDIA proprietary driver runtimes; therefore, Flatpak applications will not use the system libraries. This is not a bug in Nitrux or caused by Nitrux.
- In the case of the NVIDIA proprietary driver runtimes that Flatpak will install, the runtimes must match the version of the driver installed in the system. For example, if the installed driver is version 560.35.03, then the Flatpak runtimes should look like this when listing all Flatpaks using the command
flatpak list. Otherwise, applications requiring 3D acceleration will stop working entirely. This is not a bug in Nitrux or caused by Nitrux.
nvidia-560-35-03       org.freedesktop.Platform.GL.nvidia-560-35-03                   1.4                      user
nvidia-560-35-03       org.freedesktop.Platform.GL32.nvidia-560-35-03                 1.4                      user
- Installing other NVIDIA proprietary driver runtimes than those mentioned will prevent applications requiring 3D acceleration from working entirely until they’re removed. This is not a bug in Nitrux or caused by Nitrux.
- Flatpak does not automatically remove older NVIDIA proprietary driver runtime versions. This is not a bug in Nitrux or caused by Nitrux.
- We recommend rebooting after upgrading the MESA or NVIDIA proprietary driver runtimes, as we’ve observed that applications requiring 3D acceleration won’t work until this is done; logging out and in is not enough. Additionally, developers must update applications like MangoHud to use the newer runtimes before working again. This is not a bug in Nitrux or caused by Nitrux.
- Flatpak, like other package managers, uses a dependency-based design. When an application is updated, and this version requires an updated base runtime or SDK, it’s possible that the required version of said components is not updated along with the application. In this case, users must install these new versions manually. This is not a bug in Nitrux or caused by Nitrux.
Disclaimer: We do not develop Bauh or Flatpak. To report bugs about Flatpak, create an issue at their bug tracker, and to report bugs about Bauh, create an issue at their bug tracker.
Distrobox
⚠️ Important: Please note that starting from version 2.6.0 to use a package manager users should use Distrobox.
Distrobox is based on an OCI image and implements concepts similar to ToolBox, built on top of Podman and OCI standard container technologies. As the project describes, “Simply put it’s a fancy wrapper around podman, docker, or lilipod to create and start containers highly integrated with the hosts.”
- 🔰 Information: If the user needs to use dpkg/APT (or any package manager), we strongly recommend using Distrobox; check our tutorial.
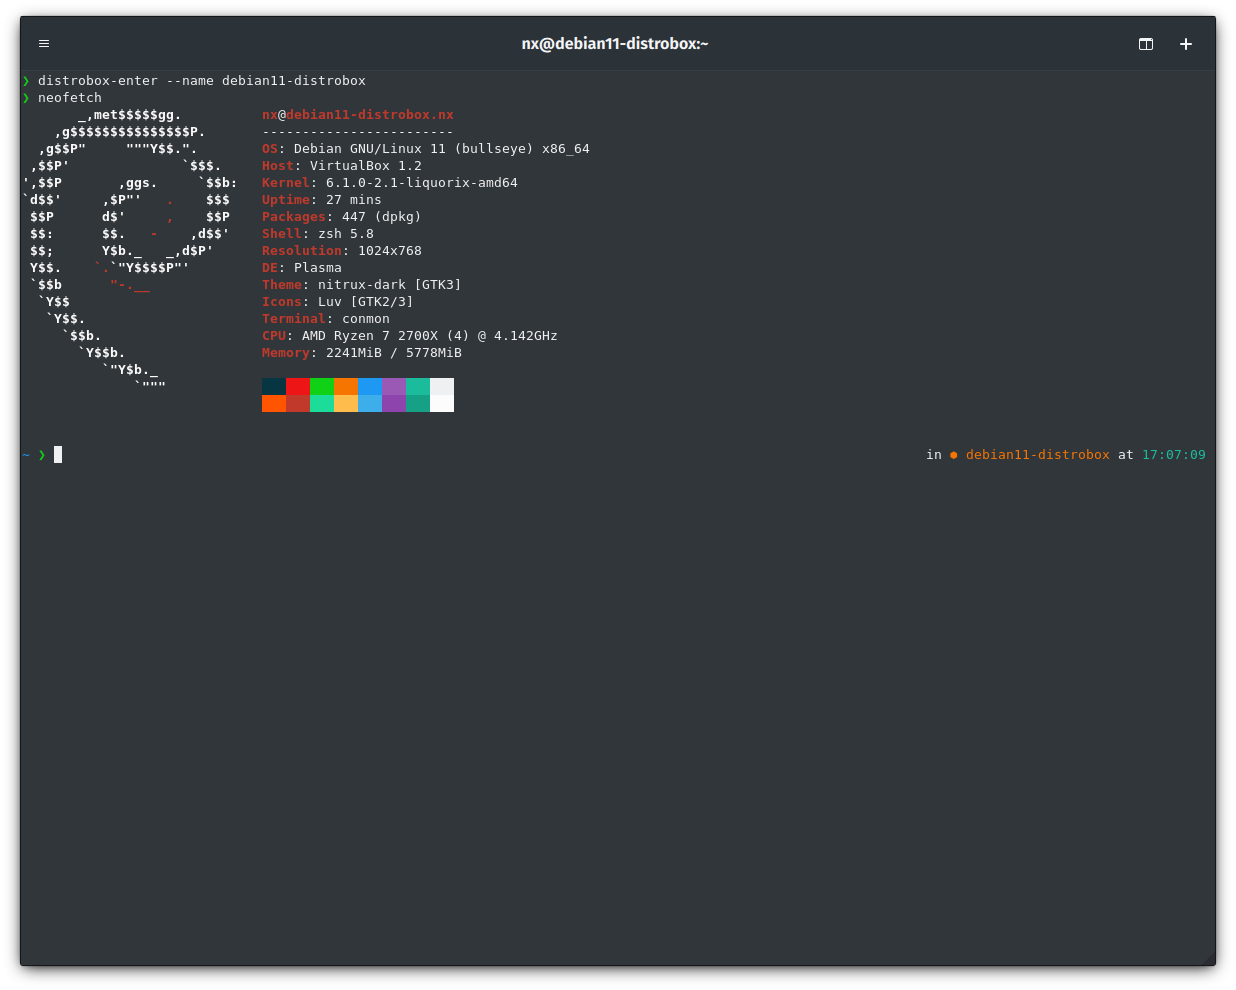
neofetch on a Distrobox container.
Compiling Software in Nitrux
We strongly recommend users use containers to compile software. Users can create a container using the following tools.
- Distrobox (our recommendation).
- 🔰 Information: Distrobox uses Podman by default. However, Distrobox can also use Docker.
- Toolbox (as an alternative to Distrobox).
- 🔰 Information: To use Toolbox, check their documentation.
Disclaimer: We do not develop Distrobox. To report bugs about Distrobox, create an issue at their bug tracker.
Zero Install
Zero Install or 0install is “a decentralized cross-distribution software installation system available under the LGPL. It allows software developers to publish programs directly from their websites while supporting features familiar from centralized distribution repositories, such as shared libraries, automatic updates, and digital signatures.”
- Since Nitrux 2.9.0, we include Zero Install by default.
- 🔰 Information: Click the following link to access the documentation for Zero Install.
Some of Zero Install features are.
- Run apps with a single click. Run applications without having to install them first.
- Anyone can distribute software. Create one package that works on multiple platforms.
- You control your computer. You don’t have to guess what happens during installation.
- Security is central. Installing an app doesn’t grant it administrator access.
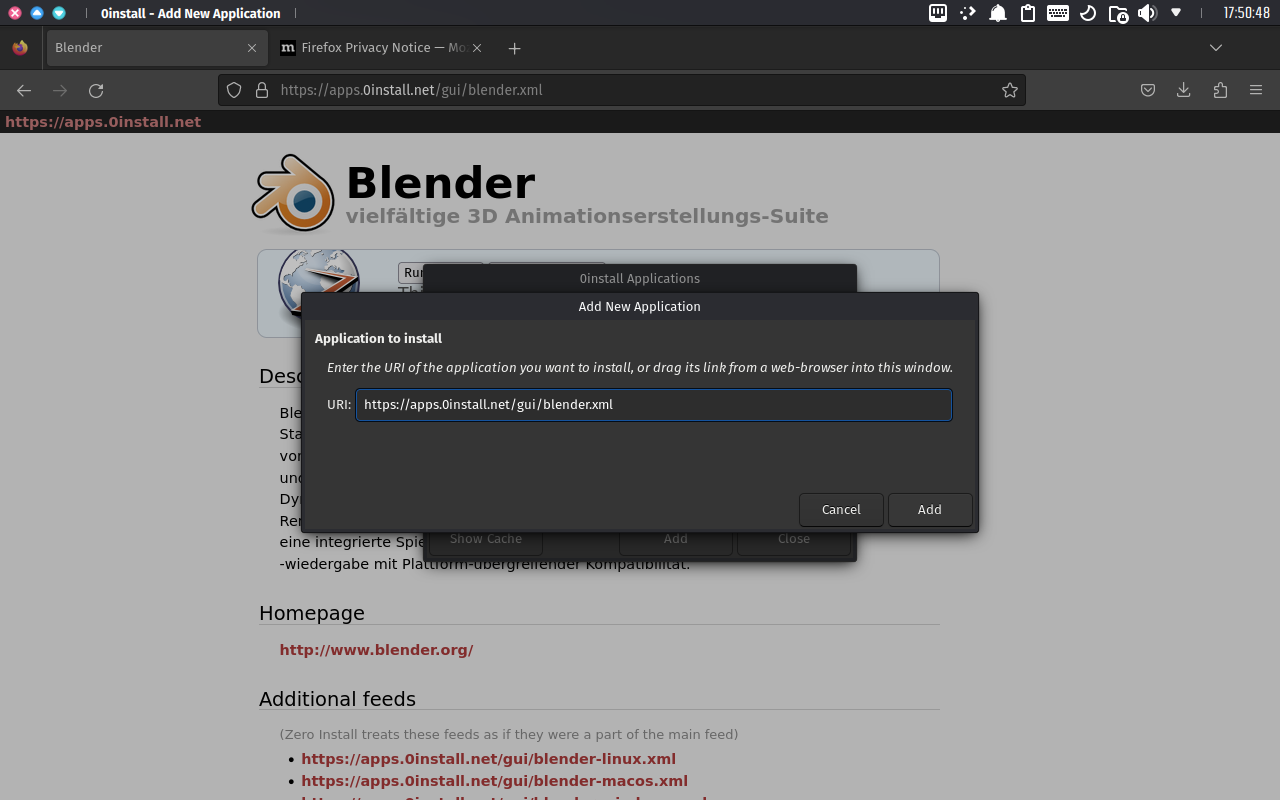
To use 0install, see the following example.
A 0install application is distributed using a feed file. A feed is an XML file that tells 0install how to run the application and which versions are available. The feed file is usually published online; the URL is the application’s unique identifier.
- Find a program you want to run on the web.
- 🔰 Information: Visit the following link for a list of featured apps, 0install tools, and more.
- Copy and paste the XML URL into the dialog window and click Add.
- Then click “Download.”
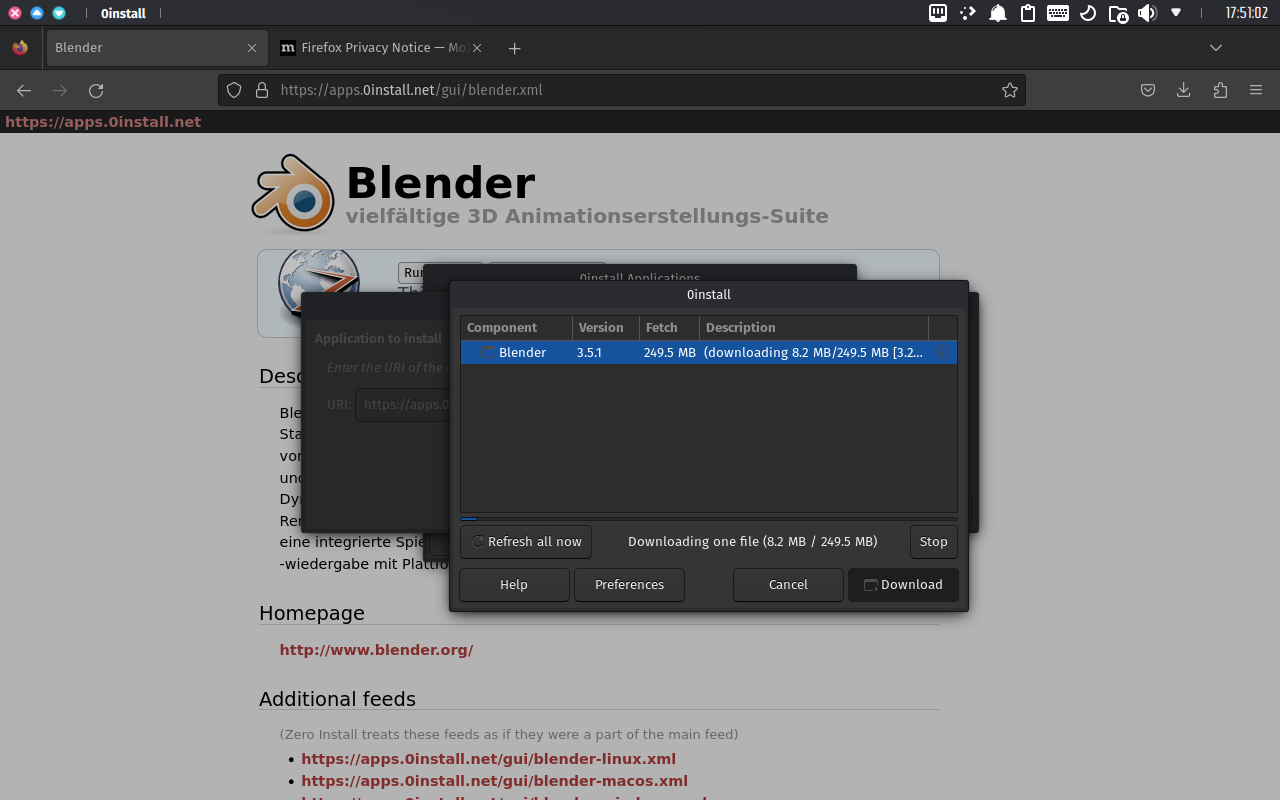
- Once the download is complete, launch the application from the 0Install Application window.
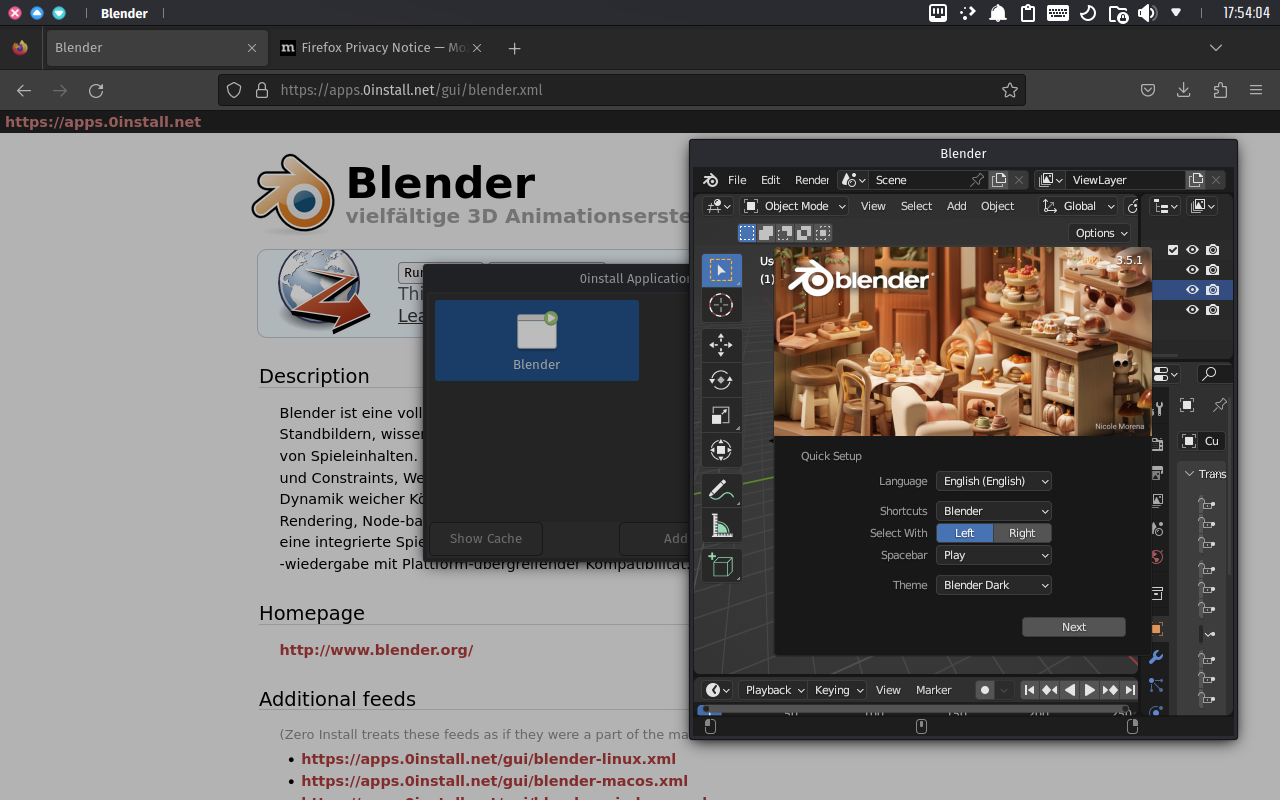
- 0install applications are automatically added to the application launcher.
Disclaimer: We do not create, maintain, or host the 0install executable files. These files are created, maintained, and hosted by third parties. Please let their creators or maintainers know if you have issues with these files.
Support for Other Self-Contained Formats
In addition to AppImage and Flatpak, other types of self-contained formats exist, such as Snaps.
- Snap is a software packaging and deployment system developed by Canonical for Linux and the systemd software suite (which includes an init).
- ⚠️ Important: Nitrux does not support Snaps as its daemon (snapd) requires systemd.
Another more popular option is undoubtedly static binaries or static builds.
- A static binary is an executable program compiled and linked with all its dependencies statically. In contrast to dynamic binaries, which rely on shared libraries (also known as dynamic link libraries) at runtime, static binaries include all the necessary libraries and code within the binary itself. This means that a static binary can run on a system without requiring any external dependencies to be present.
This description could make static binaries sound similar to AppImages. Both offer portability and independence from external libraries, but the crucial difference is the packaging and distribution approach. Static binaries are single executable files, whereas AppImages are a specific packaging format for bundling applications and dependencies.
- 🔰 Information: Below is a list of GitHub repositories containing static binaries.
- https://github.com/andrew-d/static-binaries – Various *nix tools built as statically-linked binaries.
- https://github.com/polaco1782/linux-static-binaries – A collection of multiple binaries compiled for ARM, x86, and x86_64.
- https://github.com/Azathothas/Static-Binaries – Cross Compiled Statically Linked Binaries for Android Linux macOS Windows & More.
Disclaimer: We do not develop or maintain the static binaries provided in these repositories. Their content is the responsibility of their maintainers.
Support for Other Software Installation Methods
As we can see, multiple ways exist of adding software to Nitrux. With the options above, there’s no shortage of software to install and use. Below, you can find information regarding other methods to obtain software.
Waydroid
⚠️ Important: As described in the following issue (#120) in our bug tracker, due to changes in the Liquorix kernel disabling PSI, to use Waydroid users must use another kernel where PSI is enabled in the kernel configuration. To use a different kernel than the default, we’ve created Kernel Boot; see How to use Kernel Boot.
Waydroid is “A container-based approach to boot a complete Android system on a regular GNU/Linux system like Ubuntu.” To start using Waydroid, do the following steps:
- ⚠️ Important: Waydroid will not use hardware acceleration when using the NVIDIA proprietary drivers.
- ⚠️ Important: Waydroid will not work in X11 but only in a Wayland session (hence the name, Wayland + Android).
- ⚠️ Important: Waydroid will not work on the Live session, and it will not work on a virtual machine (except maybe QEMU; please refer to Waydroid’s documentation). Nonetheless, we strongly recommend using physical hardware as that’s where we’ve tested it and where we know it works.
- 🔰 Information: Waydroid will download its system images to /var/lib; keep in mind the size of this partition.
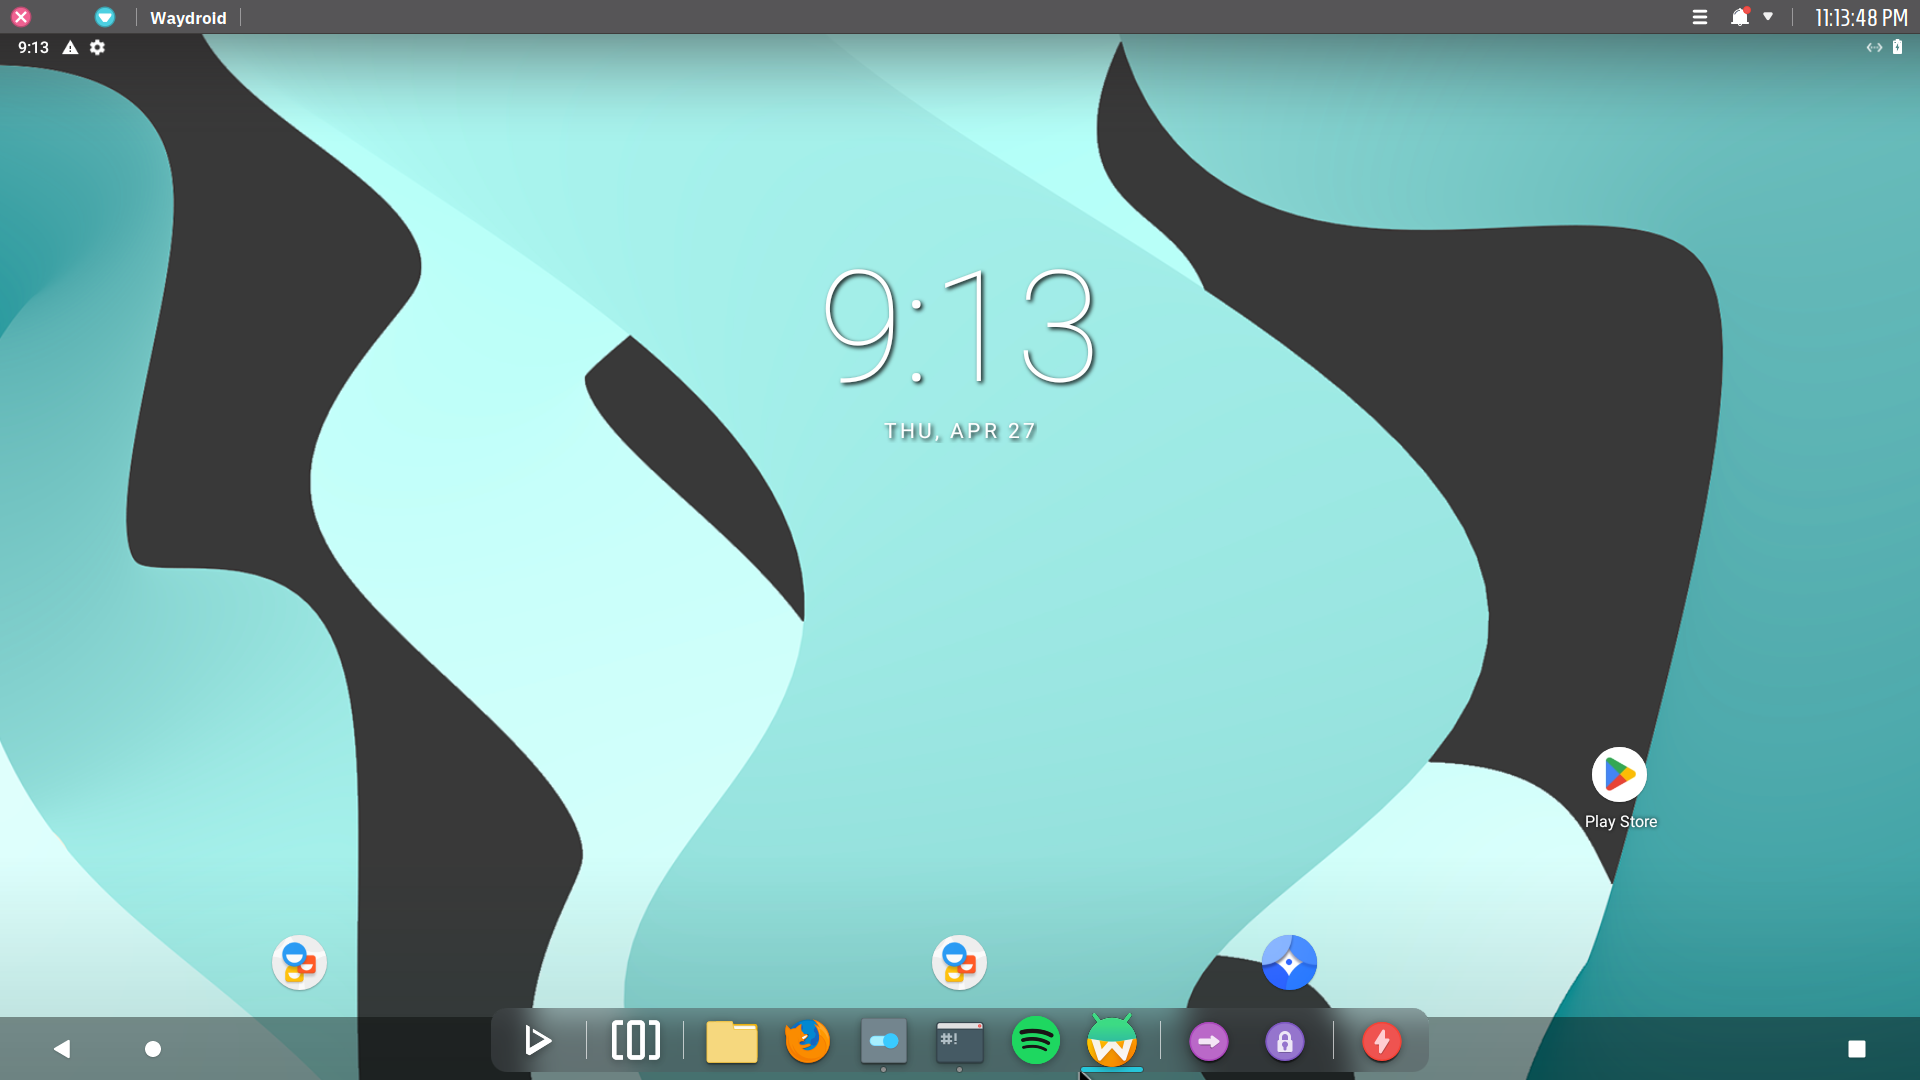
Waydroid is running on Nitrux.
- Since Nitrux 2.8.0, we include Waydroid by default.
- 🔰 Information: Click the following link to access the documentation for Waydroid.
- 🔰 Information: We include a service for OpenRC for Waydroid. However, it’s not enabled by default. To start it, run the following command.
sudo rc-service waydroid-container start
- First, install the Android images to use with Waydroid. To do this, click the applications launcher and then click Waydroid.
- 🔰 Information: When initializing Waydroid using its GUI dialog window, users can choose between a system type, VANILLA (Lineage OS x64 without Google Play Services support) or a GAPPS (Lineage OS x64 with support for Google Play Services) image.
- Alternatively, open the terminal and type the following command.
- Initialize Waydroid using the VANILLA image
- ⚠️ Important: The commands below create, copy, edit, or move files in the root directory; see XFS Features and Root Immutability in Nitrux.
- Initialize Waydroid using the VANILLA image
sudo waydroid init
-
- Initialize Waydroid using the GAPPS image.
sudo waydroid init -s GAPPS
- Then, to launch Waydroid on full screen, click the applications launcher and then click Waydroid.
- Alternatively, open the terminal and type the following command.
waydroid show-full-ui
- To upgrade the system images that Waydroid uses, run the following command.
sudo waydroid upgrade
- To effectively reset the configuration of Waydroid, run the following commands.
- First, stop the Waydroid container service.
- Then, clean the configuration files.
- And finally, start the service and initialize Waydroid again.
- ⚠️ Important: The commands below create, copy, edit, or move files in the root directory; see XFS Features and Root Immutability in Nitrux.
sudo rc-service waydroid-container stop

sudo rm -rf /var/lib/waydroid /home/.waydroid ~/waydroid ~/.share/waydroid ~/.local/share/applications/waydroid ~/.local/share/waydroid || true

sudo rc-service waydroid-container start
- Waydroid provides a command to visualize its log; this is useful for troubleshooting. To visualize the Waydroid log, run the following command.
waydroid log
Disclaimer: We do not develop Waydroid. Please file issues with Waydroid using their bug tracker here.
Homebrew
As we indicated at the beginning of this tutorial, Nitrux is a distribution that doesn’t revolve around a package manager like other distributions; however, besides using Distrobox, users can use package managers in a non-containerized way in Nitrux. The critical difference with doing so is that these package managers do not alter the root directory; they store their content in the home directory. Additionally, in the case of Homebrew, the software is provided by its community of users, as the famed AUR does for Arch Linux users, rather than the distribution through software repositories, i.e., what we used to do before Nitrux 2.6.0.
Below are two recommendations for these package managers.
- Homebrew is a MacOS package manager that works on Linux and allows users to install the software in their home directory. Homebrew features are the following:
- Homebrew can install software to your home directory, so it does not require sudo.
- 🔰 Information: A package in Homebrew is called a formula. A list of all available formulas can be found here.
- Install software that is not packaged by your host distribution.
- Install up-to-date versions of software when your host distribution is old.
- Use the same package manager to manage your macOS, Linux, and Windows systems.
- To install Homebrew for Linux in Nitrux, run the following command.
- Homebrew can install software to your home directory, so it does not require sudo.
/bin/bash -c "$(curl -fsSL https://raw.githubusercontent.com/Homebrew/install/HEAD/install.sh)"
-
- After downloading and executing the install script, run the following commands to add Homebrew (brew) to your $PATH.
(echo; echo 'eval "$(/home/linuxbrew/.linuxbrew/bin/brew shellenv)"') >> /home/$USER/.zprofile && eval "$(/home/linuxbrew/.linuxbrew/bin/brew shellenv)" && echo -e "\n# Alias for Homwbrew\nalias brew='\/home/linuxbrew/.linuxbrew/bin/brew'\n" >> ~/.zshrc && source ~/.zshrc
-
- For help, run the following command,
brew --help- ⚠️ Important: At the time of writing, graphical software is not available in Homebrew for Linux.
- For help, run the following command,
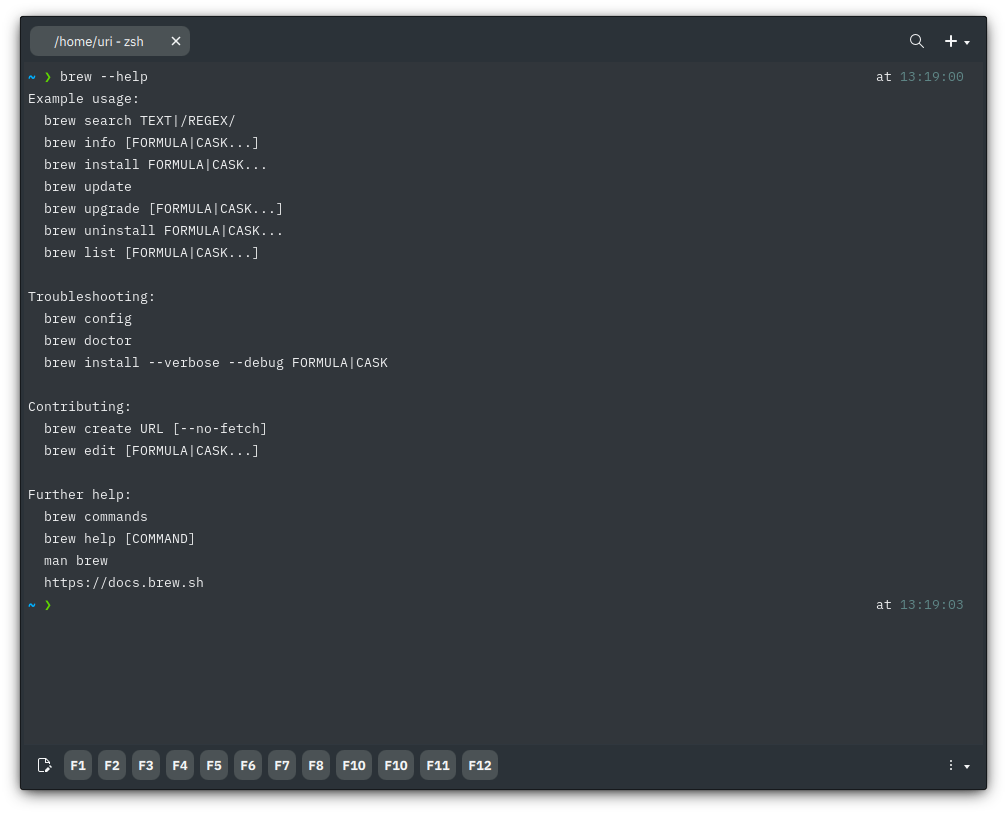
Homebrew in Nitrux. Image for reference.
Nix Package Manager (Portable)
- Nix Package Manager (Portable)
- Nix is a static executable requiring no configuration, privileges, or (user) namespaces.
- Make it extremely simple to install Nix.
- Make Nix work in restricted environments (containers, HPC, etc.)
- Use the official binary cache (by simulating the /nix/store).
- Make it easy to distribute Nix (via other package managers).
- The nix-portable executable is a self-extracting archive, caching its contents in $HOME/.nix-portable.
- Either bubblewrap or proot is used to simulate the /nix/store directory, which resides in $HOME/.nix-portable/store.
- A default nixpkgs channel is included, and the NIX_PATH variable is set accordingly.
- Features flakes and nix-command are enabled out of the box.
- To install Nix (Portable) in Nitrux, do the following. The command will download the binary to the $HOME and create an alias.
- 🔰 Information: Please refer to Nix’s documentation to learn how to use it.
- Nix is a static executable requiring no configuration, privileges, or (user) namespaces.
axel -o $HOME/.local/bin/nix https://github.com/DavHau/nix-portable/releases/download/v010/nix-portable && chmod +x $HOME/.local/bin/nix && echo -e "\n# Alias for Nix\nalias nix='\$HOME/.local/bin/nix'\n" >> ~/.zshrc && source ~/.zshrc
-
- For help, run the following command,
nix --help
- For help, run the following command,
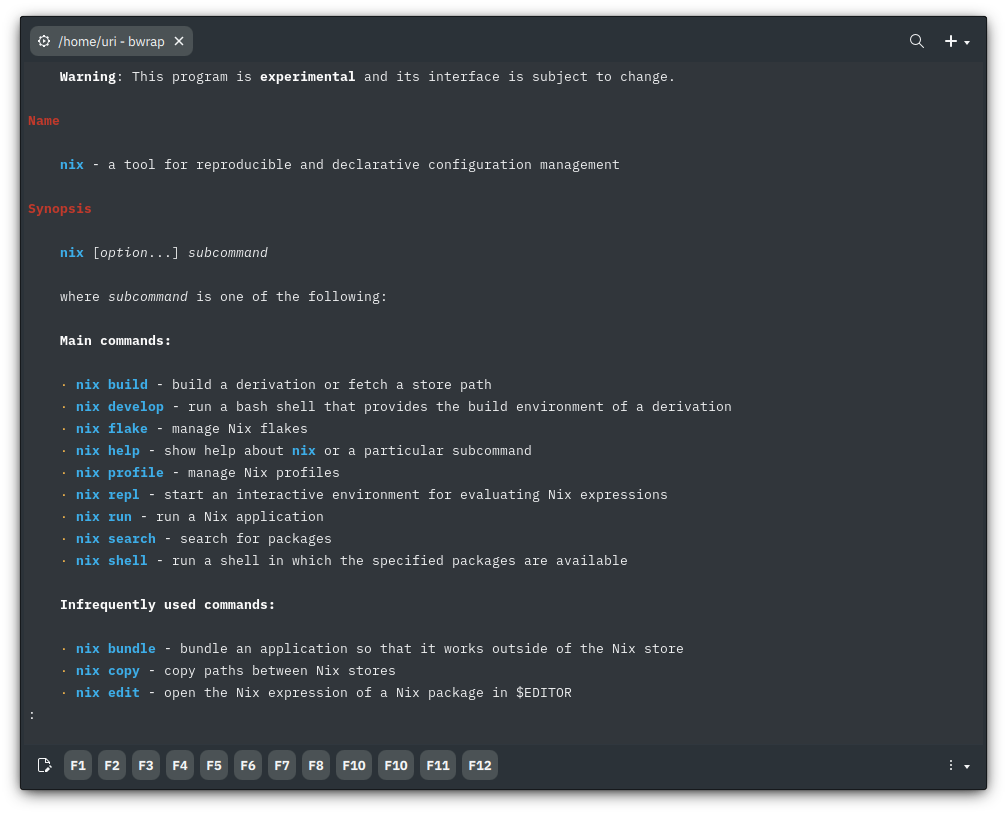
Nix portable in Nitrux. Image for reference.
Disclaimer: We do not develop or maintain Homebrew for Linux or Nix and Nix (Portable). Homebrew for Linux and Nix (Portable) are not installed by default.
Installers for Linux
However, that’s not all; as we can see below, there are similar experiences to managing software in Windows but targeting Linux.
- Linux (application) Installers. Some developers use installers rather than distributing their software through AppImages, Flatpaks, or Snaps—yes, installers exist in Linux.
- Like the ones used by Oracle and VMware to distribute their hypervisors, CLI installers are distributed as scripts with the file extension .run. Virtualbox is distributed using this method, and VMware Workstation/Player is distributed as a script using a different file extension, .bundle. In practice, there’s no difference between these installers except their file extension. Both installers install software via a script through the terminal rather than a graphical package manager.
- 🔰 Information: Check our tutorial on installing hypervisors in Nitrux to see how these installers are used.
- Graphical installers also exist; an example of a graphical installer for Linux is the linux-installer software, a graphical framework to create installers using GTK 3 and CSS for the GUI that imitates the look-and-feel of install wizards commonly used in Windows, specifically the NSIS (Nullsoft Scriptable Installable Software) Wizard software.
- Like the ones used by Oracle and VMware to distribute their hypervisors, CLI installers are distributed as scripts with the file extension .run. Virtualbox is distributed using this method, and VMware Workstation/Player is distributed as a script using a different file extension, .bundle. In practice, there’s no difference between these installers except their file extension. Both installers install software via a script through the terminal rather than a graphical package manager.
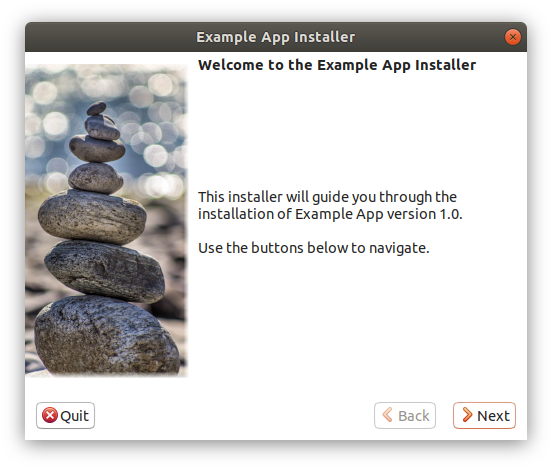
Example of linux-installer. Image for reference.
That’s it; this concludes today’s tutorial.